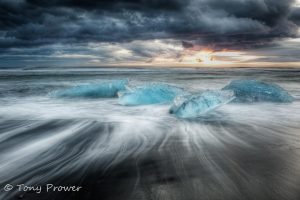
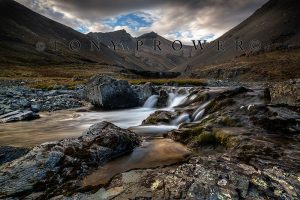
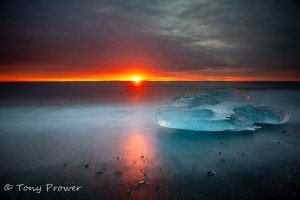
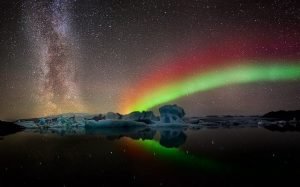
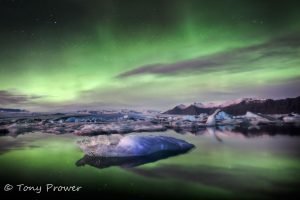
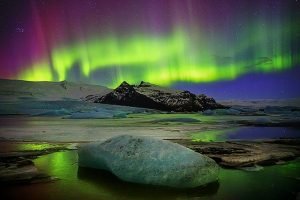
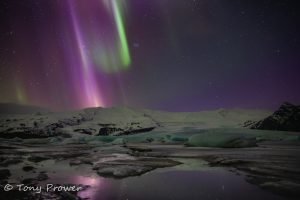
Night photography with long exposure can reveal aspects of the landscape that are not visible during the day. With a longer exposure time, the camera can pick up more light from distant objects and stars, giving the photographer more control over their composition.
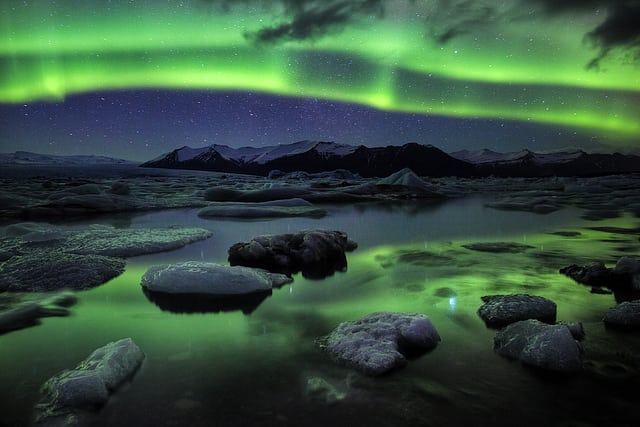
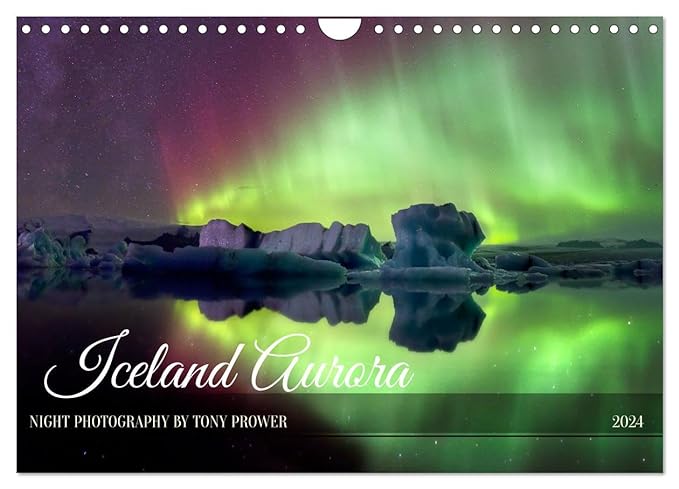
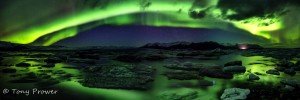
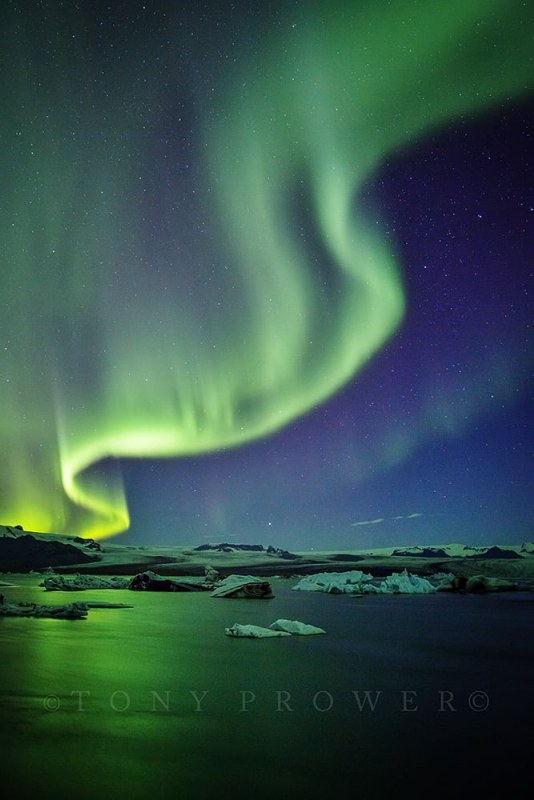
It was my love and obsession of capturing the Aurora Borealis, which prompted a new passion for night photography. I was already interested in the magic of long exposures, so the opportunity to capture these nightly spirits triggered an obsession in me.
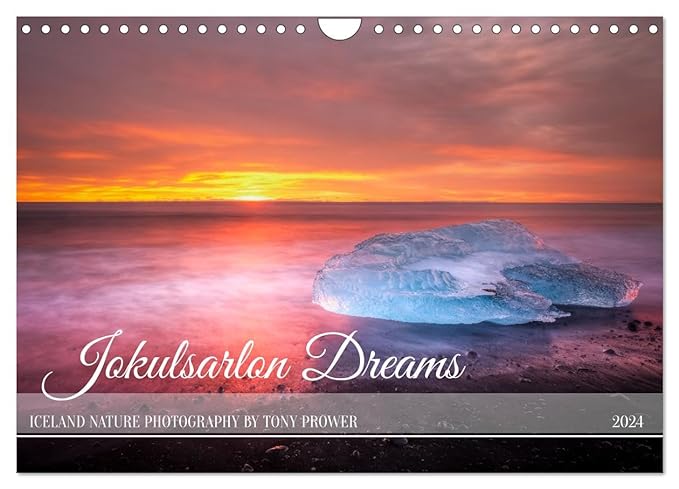
A secret landscape is unveiled to the night photographer, the seas turn to milk, the street lights adopt an eerie glow and the colours are amazing. Long exposures can also create interesting effects such as light trails or misty, dreamy skies. This type of photography allows the photographer to explore the nightscape in a whole new way and uncover secrets hidden in the landscape.
Digital Revolution
In the days of 35mm film there were limitations to exposure length. We had to battle with reciprocity failure were the film emulsion would stop being reliable over a certain time. Usually 2 minutes. Black & white was fine. Then there was Fuji Provia with no reciprocity failure up to 4 minutes. I used Fuji Provia a lot.
Then there was digital with no reciprocity problems at all. But digital brought it’s own set of electronic issues. In the early days of digital sensors, high iso setting didn’t produce good results. Even the high end professional cameras were bad with iso settings above 400. It took about 6 years before affordable DSLRs were matching film cameras at night. Probably the first digital camera to capture Northern Lights was the Nikon D70. My first DSLR was the Canon 400D.
White Balance
White balance is the way a digital camera analyses a scene and decided what is true white (or more accurately true grey) the problem at night is that a camera cannot see anything except maybe some street lamps or the moon. The solution to this is to shoot in RAW mode if your camera allows it and then adjust the white balance when you process the files.
Battery life
Another short coming of the digital age is the fact that longer exposures require more battery juice. My old Olympus OM1 could sit with her shutter open all night and not require any power. Digital cameras are limited to around an hour depending on the camera.
Night Photography Camera Gear
Long Exposure Camera
You will need a camera that can take a long exposure. Some cameras might be limited to programable shutter speeds. The things to look out for or ask about in your camera store, are ‘manual shutter’ or ‘bulb’ mode. You might need extra equipment (like remote shutter) to get exposures longer than 30 seconds.
Night Photography Lens
The lens is the most important consideration. Photographing a night sky is going to let you know how good your lens is. Things can get really expensive. The most important feature is being able to manually focus. Having a large aperture is also important, look for f/2.8, or f1.4 apertures. This large aperture value is usually part of the lenses title. Wide angle lenses are my preference because they work well for Northern Lights or Milky Way photography.
Sturdy Tripod
Stabilize your tripod so it is sturdy. This is good practice for long exposure photography. Some tripods have a hook were you can hang a heavy bag underneath. Stone bags are handy.
Try to avoid heightening the center column unless you really need to. The center column is the least stable part of the set up. The ideal height for most night photography is to have your camera a the level of your heart. This makes handling the camera easier and keeps you hands a bit warmer in the cold.
Stone Bag
Sometimes your tripod has a hook between the legs, suspend something from it to help with extra stability. Many professionals carry an empty “rock bag” that they can fill with stones to give a heavy weight which will hold the tripod well – fine for Magic Cloth photography.
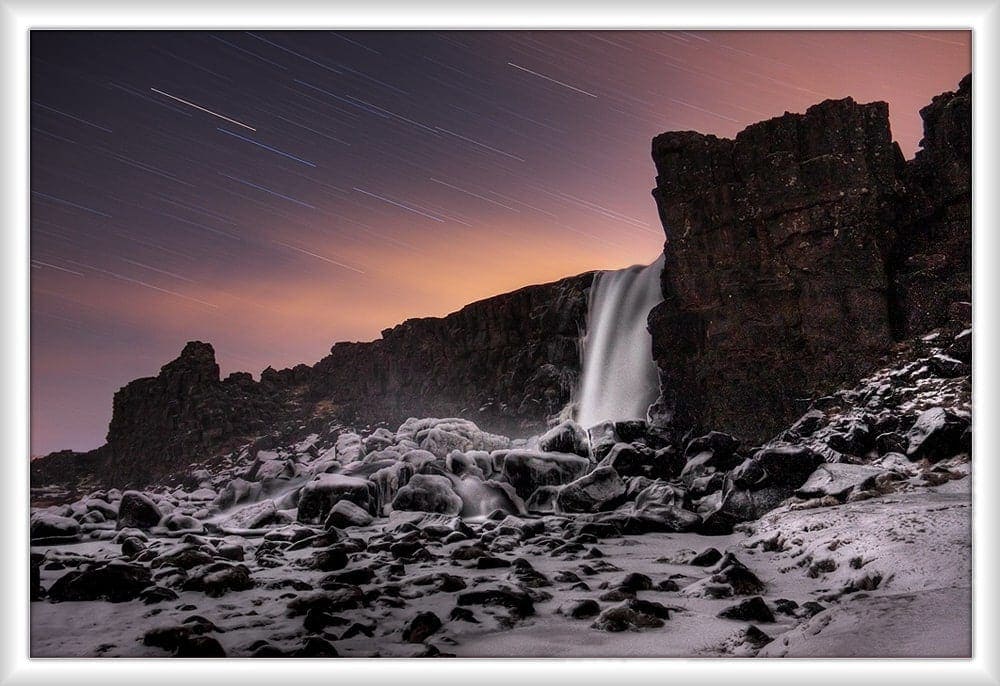
This is the camera gear I use for Night Photography in Iceland.
Cable Release
Most digital cameras can be programmed for a 30 second exposure, but you will need a cable release for longer periods. These can be expensive and you have to find the right one for your camera, but you can find many third party replacements on ebay if you just want to dabble. Canon do a tiny infrared remote which is excellent. I have left mine in my trousers and put them through a hot wash on a number of occasions, and it still works!
Spare Battery
Your battery is not going to last long on a cold winter night. Take a spare and keep it in an inside pocket. When you battery dies, switch them and put the dying one in your pocket – you will recover half its life again by warming it up.
Warm clothes
For a cold winter night, you will be standing around for long periods of time so don’t under-estimate the power of the cold. Layers are best! Use a pocket warmer and a two glove system. If you are right handed use a tight or fingerless glove so it is easy to adjust your camera settings. Use a warm mitt on your other hand and use that hand for handling tripods and supporting the other hand. See this article for dressing appropriately for cold climates.
Night Photography Procedure
Find a good scene and a safe place to take a long exposure. Set your digital camera up on a tripod with its largest aperture and iso 1600. Then program 30 seconds and press the shutter button. Take it from there. Have a look at your settings; iso, aperture. Is your picture too dark? too light?
This might not be the picture you wanted but from here you can make all the adjustments you need. My best way of working in a pure night environment (no moon or artificial lights) is to take my test shot around 1 minute and with an iso around 1600 this will give me a low quality image with too much grain to use, but I will be able to see things. I will be able to see the landscape I am trying to compose.
I will see if the photo is too dark or too bright. It is important to use your histogram to check exposure rather than looking at the preview screen. Then when I have adjusted the composition and exposure I do the maths. 1 minute at 1600 = 2 minutes at 800 = 4 minutes at 400 = 8 minutes at 200 = 16 minutes at 100 0 32 minutes at 50. So if I want a high quality image with 100 iso I will need to expose for 16 minutes. Next question is, what do I do for the next 16 minutes?
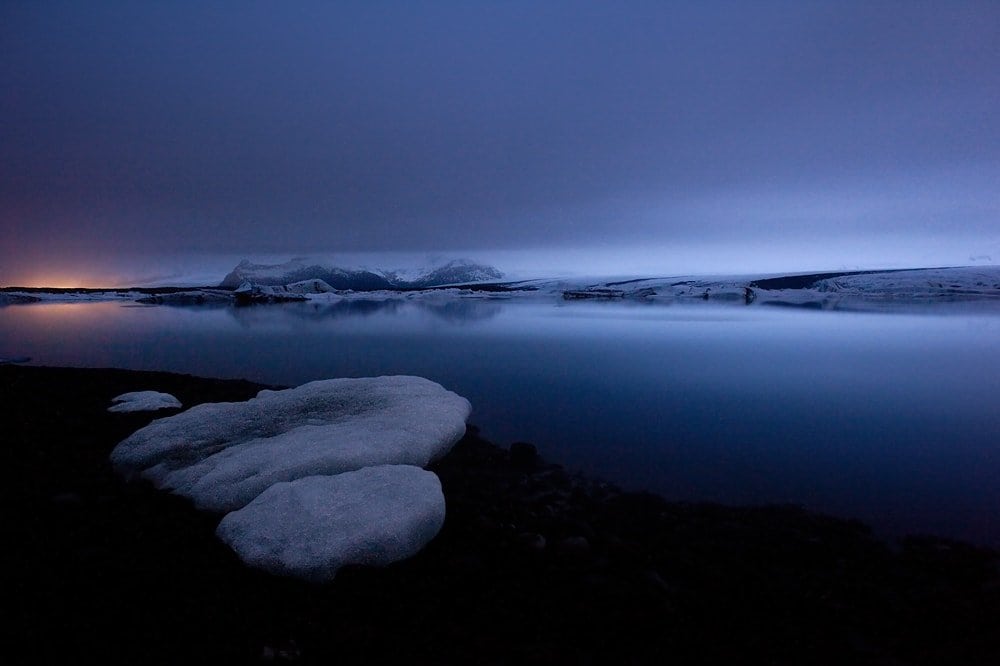
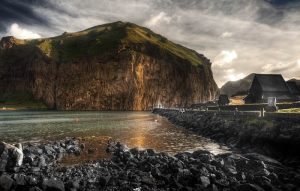
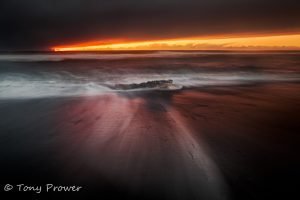
This picture was taken in Early April at midnight. The exposure was 16 minutes at 200 iso. This required a lot of advanced noise reduction during processing. As you can see, there is a blue cast from the white balance which I decided to keep as it reflects the cold atmosphere.
Conclusion
Night photography gives you an opportunity to see the world differently, you might want to shoot an urban street scene or a dark landscape, whatever you shoot at night, you will have a very different result than if you shot during the day. Take advantage of the long exposure that can turn any waterfall into milk and can calm the most violent seascape.
