Aurora Borealis
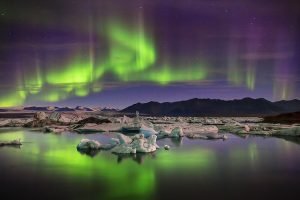
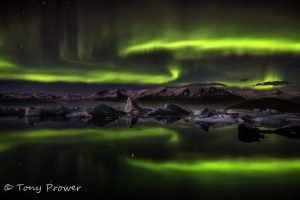
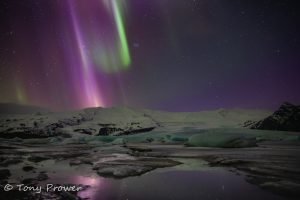
These Iceland Aurora light shows can add an extra dimension to night photography because they add strong colours and depth to the sky. Sometimes they can be so bright that you could argue it is no longer night photography because exposures can be so short. Modern DSLRs can see the Northern lights with the live view better than the eye. With such fantastic high iso performance, you can photograph bright auroras in just a few seconds, which means you are catching 100s of photographs in a night.
Tours Around Iceland
Volcanic Glow
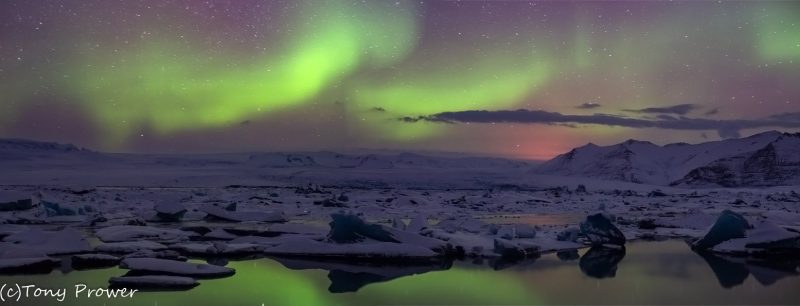
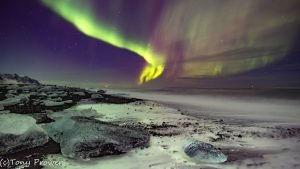
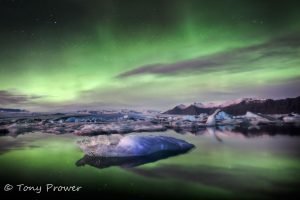
We were at the Jökulsarlon Glacier lagoon during our Winter workshop. These Auroras were nothing special, they were mostly green and appeared to be blurred because of the dust in the air. The orange glow to the right is from the Holuhraun volcanic eruption which was going on about 100 miles North of us. There is a possibility that there is a huge screen of ash making the Northern lights seem blurred.
My Canon 24mm prime lens was broken in a wind related accident, so I was stuck with my Zeiss 50mm prime. This is not an ideal focal length for Aurora photography, but it is a perfect focal length for panoramas.
Adobe Lightroom Panorama
As this was a planned panorama, each frame has exactly the same exposure and focus. This is really important when it comes to blending the frames together. Lightroom can make automatic adjustments to match the brightness of multiple frames, but it is best to have them as close as possible to start with.
First, I increased exposure and clarity for the foreground. Lightroom lets you adjust big areas with the Graduated filter tool. Then, I can simply copy the Lightroom settings to the other photo(s) by sync. or by copying previous settings.
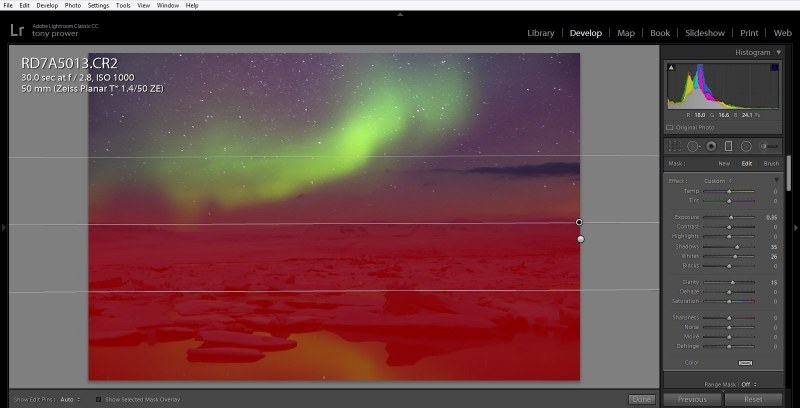
Next
I increased white and de-haze for the sky. This will increase the intensity of the Northern Lights.
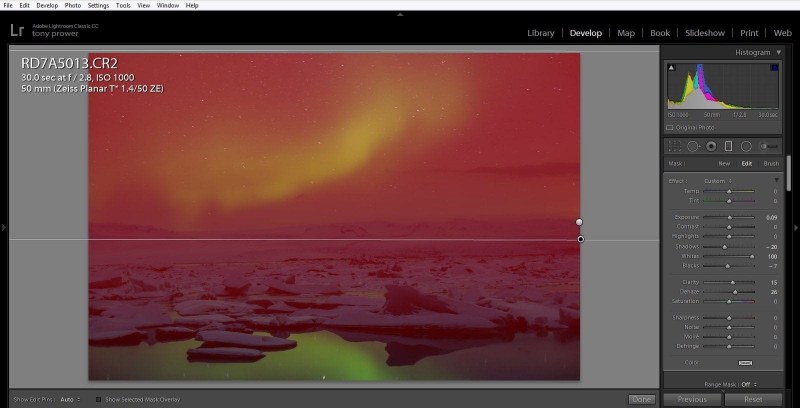
Merge Panorama
I copied the same lightroom settings to the other photograph and merged them into a panorama.
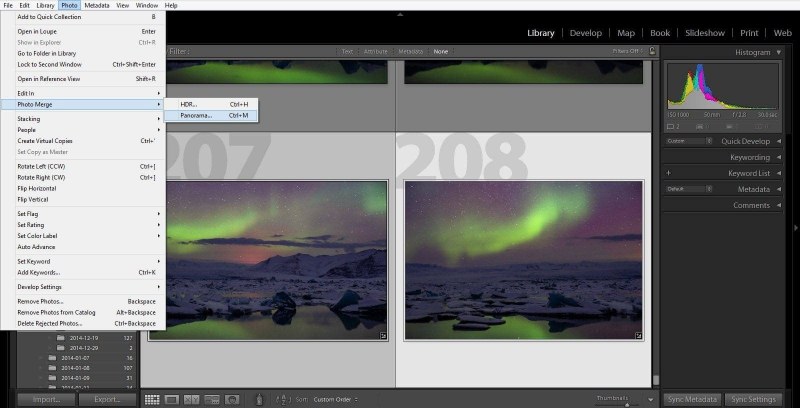
Lightroom’s photo merge function is pretty good. There are a few perspective settings you can adjust to get the right panorama dimensions. It can make mistakes in the stiching though, so always check the panorama photo at 100% for any stitching artifacts.
