Photoshop Blending
For creative abstracts.
Tours Around Iceland
Abstract Ice
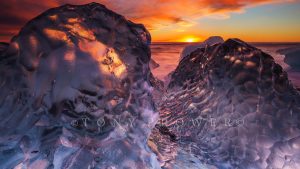
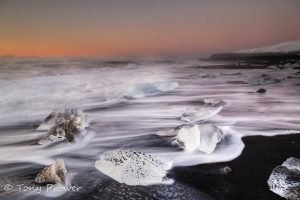
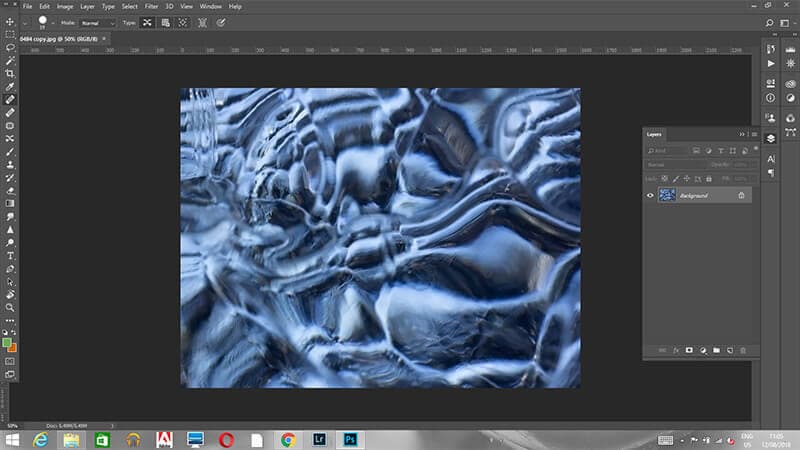
This photograph was from the ice beach at Jökulsarlon. This is a good way to spend your photography time if you happen to catch a rainy Jökulsarlon. For starters, you can capture some incredible glacier textures that you don’t see in the wide angle photos. This works especially well with telephoto lenses that often come with long hoods. These make you look even more professional. The long lens hood works well at keeping all the rain away from your lens element.
The key to composing these is to look for areas where you can fill a frame with no ugly bits. The ugly bits are where the ice has broken or there are sandy, size 8 footprints on it. If you are lucky, you will have a frame of pure, natural glacier sculpture. I prefer crystal clear ice where you can see forms inside the ice.
Aurora Borealis
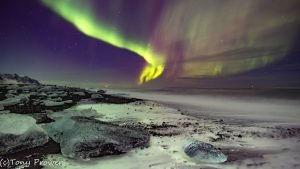
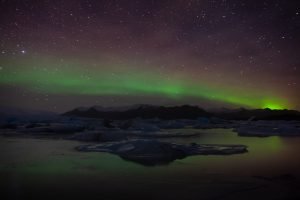
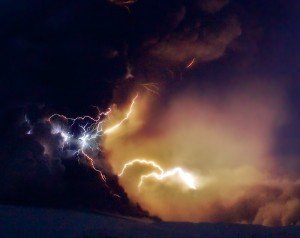
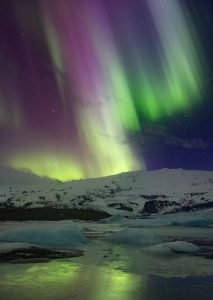
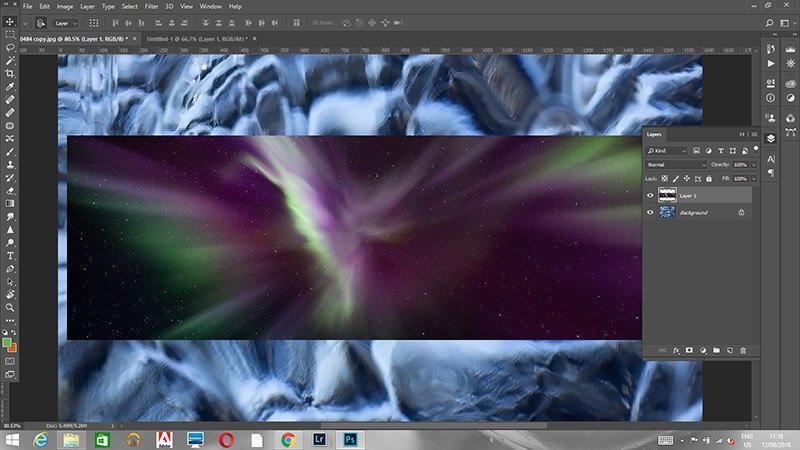
The Northern lights image is from a March Photo Workshop in the same region as the ice. This crop is from a straight-up shot. I pointed my camera upwards and filled the frame with sky. There was a lot of activity, so it was a matter of chance if you captured a great pattern. The best strategy, therefore, was to shoot shorter exposures (higher iso) so I could catch more frames. However, I only took 2 photos in this upward direction and they are both usable.
To start the blending, I open the aurora crop as a layer on top of the glacier ice photo. I positioned the aurora photo centrally, but I will be able to adjust the position later. The central part of the glacier ice photo has the most interesting forms.
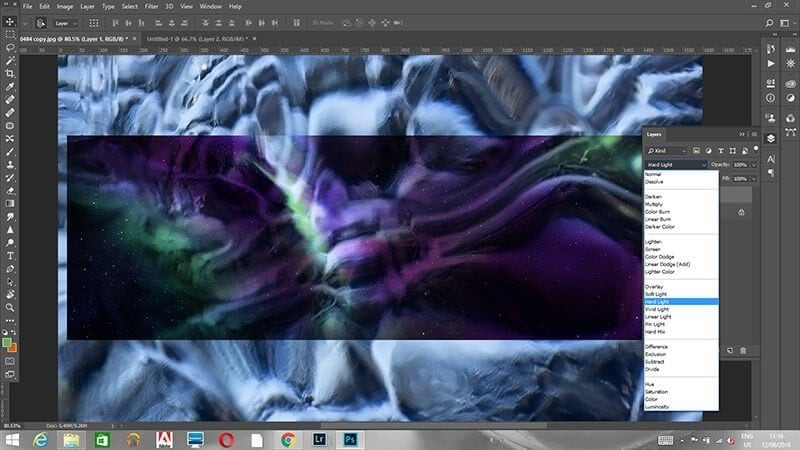
Hard-light blending mode
After playing around, I found that it was only “Overlay”, Soft-light” and “Hard-light” blending modes that allowed the ice textures to come through. It is at this stage that the position of the Aurora layer can be fine tuned to work with the forms in the ice photo.
The trouble was that ‘soft-light’ was too soft and ‘hard-light’ was too hard! It is possible to fade in the Northern lights layer to make the ‘hard-light’ a bit softer, but I had another idea…
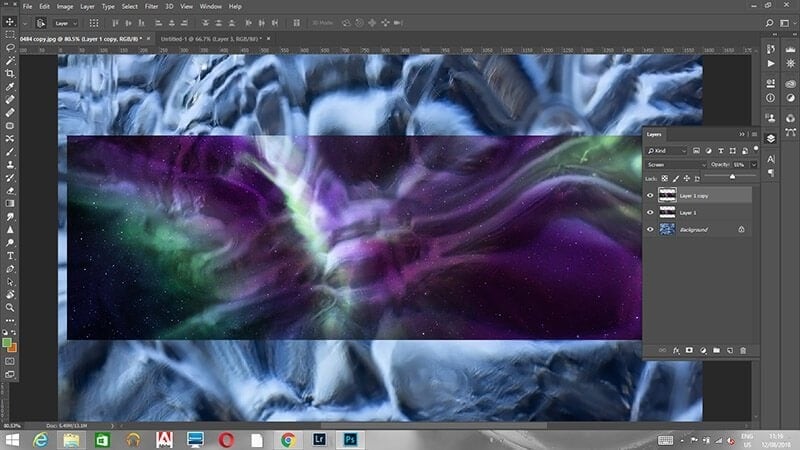
Screen Blending mode
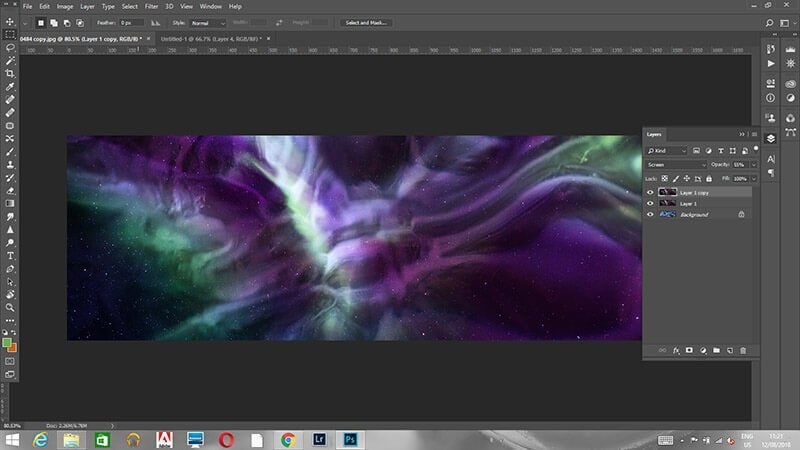
I duplicated the Northern lights layer and set the blending mode to “Screen”. This effectively brightens the combined files. I reduced the layer to around 50% opacity to achieve the desired result. So, I have my glacier layer, followed by Aurora as a layer set to ‘Hard-Light’ blending mode, then a duplicate of the Aurora set to ‘Screen’ blending mode with 50% opacity.
See what the different blending modes actually do.
Position, select & crop
I positioned the Aurora photo earlier when I had the hard-light blending mode active. The lines on the glacier ice compliment the lines of the aurora nicely. I crop to the shape & size of the Aurora Borealis photo.
Conclusion
The abstract of the ice and the cosmic energy of the aurora have combined to create an out-of-this-world image. It reminds me of how space and time can warp every time I wake up. In truth, these blended combinations don’t always work well together like the example demonstrated above. I love how the two abstract photo have created even more abstraction. I love the stars in the dark areas.

