Exposure is a critical element in photography. Until the emergence of Digital photography, it was common practice for landscape photographers to slightly underexpose a photo for better highlight detail and increased saturation. With a roll of Fuji Velvia 50, I would be approaching colourful scenes or soft light with negative E.V. of around half a stop. But in the world of digital photography there is a new school of thought which suggests over exposing just short of blowing out the highlights will actually give you a better range of colours.
Colour Film
In the days of film you could shoot colour with Negative film, or slide transparencies. When I took photos with transparencies, I often under-exposed by half a stop because the slide would retain more colours and so the resulting image would have a richer saturation. When I used colour negative film, I wouldn’t compensate in the same way. Colour Negatives have more dynamic range than Slide transparencies so exposure is not so critical. Black& White film has more dynamic range than colour negatives.
Tours Around Iceland
Digital Camera
With digital images, it was commonly practised to boost the shadow details at the RAW stage, but now it is considered better to retrieve the highlight detail. Of course this can’t be done if it is burned out. It is essential to be checking your histogram or have highlight warnings on your preview screen. It can be ok to have some highlight warnings on some images – for example, parts of snow or parts of sun behind clouds can work with a few blown out highlights. This is a matter of taste, but I do think you could be losing a lot of shadow information by avoiding blown out highlights too rigidly.
The higher stops on a digital camera can record over 2000 tonal values compared to around 60 with the lower stops.
Histogram Graph
The technique would involve using your histogram display or the highlight warning on the camera preview display. Expose as high as possible without blowing out the highlight. Using some slight bracketing might help you get the right exposure quickly.
Highlight Warning Tool
Some cameras will have a ‘highlight warning’ too. The Highlight Warning will flash on your back-screen when the highlights are lost. This flashing earned the Highlight Warning Tool the pet name of ‘Blinkies’.
Can I trust the Highlight Warning?
Although Blinkies are useful, if you have high contrast setting on your preview screen, then your blinkies will be activated too soon. For example, if your image style has its ‘Contrast Setting’ on +2, then your Highlight Warning will blink although there is about another stop spare. So you can lose potential exposure power by trusting the Blinkies. Always check the histogram as well.
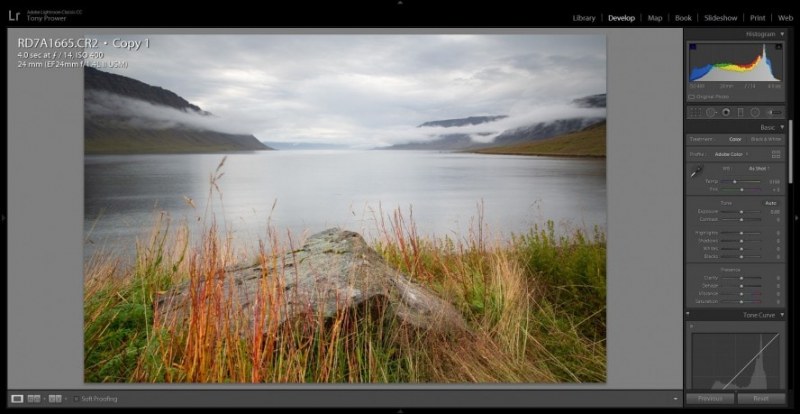
Mid-Tone Contrast
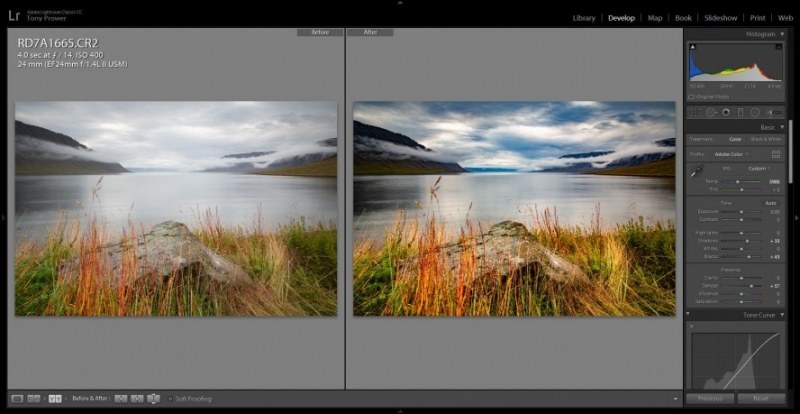
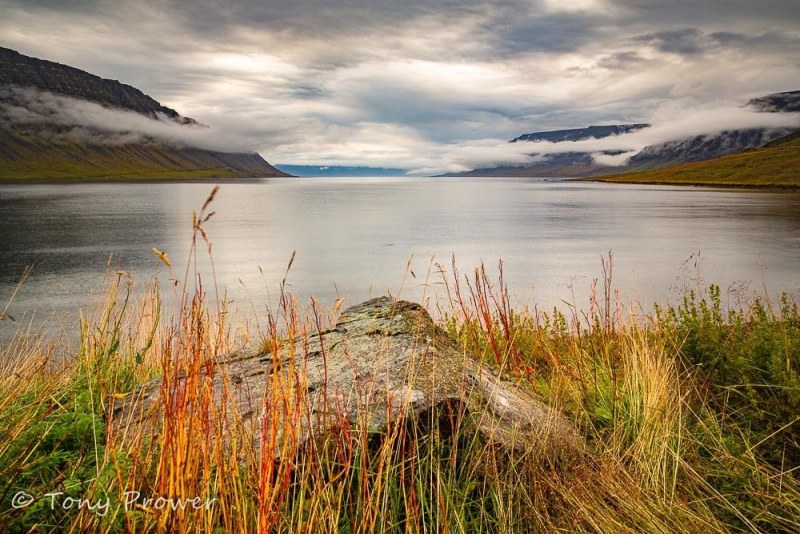
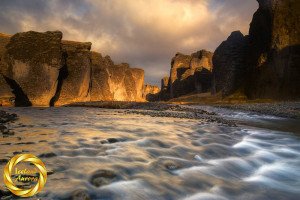
After some local and global adjustments in Lightroom,the colours have good vibrancy. Because the image was well exposed, I was able to introduce more contrast and de-haze without hurting the shadows. Because the highlights didn’t clip (burn out), I was able to restore all the detail.
