You arrive at a new scene and start shooting with your camera and tripod. then you go home and upload your images and go through them hoping that one of the scenes worked, but they are all missing something… does this sound like your workflow? If so read on…
This photo can be purchased in the shop…
I am constantly seeing photographers arrive at a scene and they have their camera in front of their eye before they have even looked at a scene. The tripod is quickly set-up and a lot of fiddling occurs at the back of the camera. They are missing one important element to photography technique – ‘Looking’!
Quite often it is the equipment such as sturdy tripods and high end cameras that become obstacles to our ability to see properly. The heavy duty camera gear is important for making museum quality prints, but if you are not able to spot the subtleties in a nature scene, then you picture wont appear in a museum (unless you rent the wall space yourself).
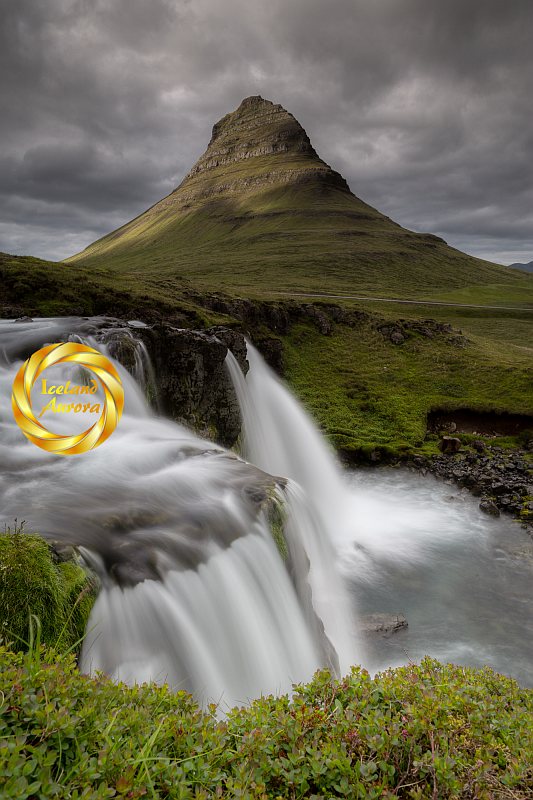
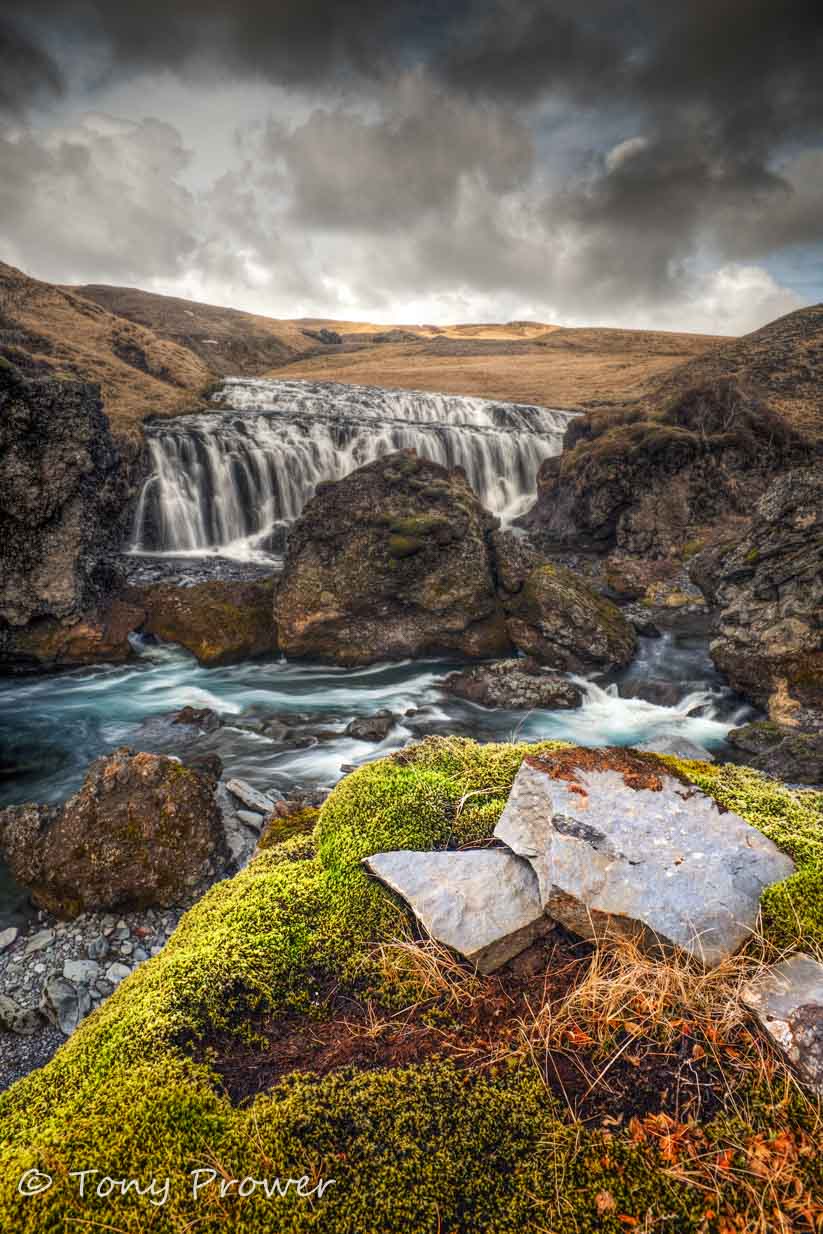
This vertical photo from Kirkjufellsfoss waterfall on the Snaefellsnes peninsula has a very tight composition. Can you see how I studied the scene carefully to include lots of interest?
This could have been a very different photo from the same spot. I feel that it was my visual observations at the scene that made the best use of what is available.
Five Minute Rule
My advice on so many occasions is for a photographer to leave their camera in the camera bag and tripod folded up and just stand/ sit and look at what is in front of them for 5 minutes. What happens over that 5 minutes is usually several visual epiphanies. You start to spot lines and shapes and details that you hadn’t previously seen.
Often, I would leave my camera in the car while I quickly check out a location. It’s good to get a first impression with your brain in RAW mode. See the scene before getting into your camera. I realise that a lot of this is just an opinion, but what’s the harm in trying it out once or twice.
The difference between a snapshot and photographic art is the inclusion of feeling. The ‘feeling of being there’is what the landscape artist attempts to convey in an image.
If a photographer cannot feel the scene, how on earth will they ever be able to communicate feeling in their photos?
If you rush into a scene and snap away without first looking at the scene, there is no way you can feel it. If you can feel the scene, there is no guarantee that you will be able to convey feeling, but you have a much better chance.
Helping the viewer feel like they are in the scene requires knowledge of ‘Pictorial Depth‘. With a bit of Pictorial Depth knowledge and good observations at the scene, you can start inviting the viewer into the landscape.
Small Group Ice Caving
Looking
Just relax and let your eyes wander. After 5 minutes you will notice things in the scene that I guarantee you didn’t see when you arrived. You eyes will notice finer details, patterns leading lines. The next stage is to analyse which way your eye moves across the scene and from here we compose.
So often I hear the phrase – ‘If I take hundreds of pictures, of of them is bound to be good!’ Why not take those hundred pictures in your mind before saving the good one for your camera? you batteries, shutter curtain and memory cards will be happier.
Four Dimensions
It can be useful to consider the 4 dimensions when considering a composition;
1) Right Vs Left
Useful for considering the alignment of your foreground objects. If you consider the horizon-up as background, and the land leading to the horizon as the middle=ground, then it is this Left-right dimension which helps you position the foreground in an interesting and leading way. Right versus left is most likely to give you control over occlusion which is one of the most powerful depth cues. In a moving image, the right and left movement will show parallax – another powerful depth cue.
2) Up Vs Down
This is a useful dimension to consider although you may be limited by your tripod. The height of your camera will determine the ratios of foreground to middle-ground to background. A higher position opens the middle ground, where a lower position allows more intimacy with the foreground. I recommend buying a tripod that can extend to hold your camera at your eye level. Find higher ground if your tripod is limiting your choice of height. Also, don’t be afraid to take the camera off the tripod. You may loose some aperture or iso qualities if you take a hand-held shot in low light conditions. But this can be a worthwhile trade off for a better composition. If you are shooting hand-held already, then don’t be limited by your strap and allow the reins to slip for those over-head shots..
3) Backwards Vs Forwards
This dimension is about adjusting the size relation of elements in the scene but is also about cropping an image. It is different moving backwards and forwards with a prime lens compared to zooming in and out from the same position. Your distance from a subject and choice of focal length will help you control size ratios, for example with telephoto compression or fish-eye de-compression. If I come across a rich foreground, I will get down and close to capture the intimate details.
(See this post for more detailed considerations)
4) Time
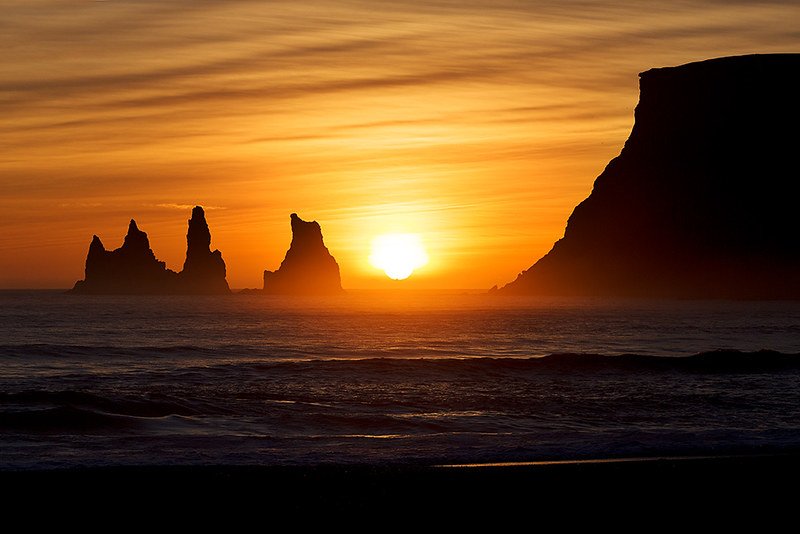
This could refer to the shutter speed to achieve fast action or water movement, or it could refer to considering the time of day when the shot is taken. Knowing the angles of shadows when the sun is rising is useful for planning your composition. Knowing the exact position of the sunrise could be crucial if you have a strong shape occluding part of the sky such as sea-stacks or rock arches. See my article on ‘Timing as Communication“.
