Glacier Ice Beach
Taken on January 11, 2017
Location: The Diamond Ice Beach at Breidarmurkursandur
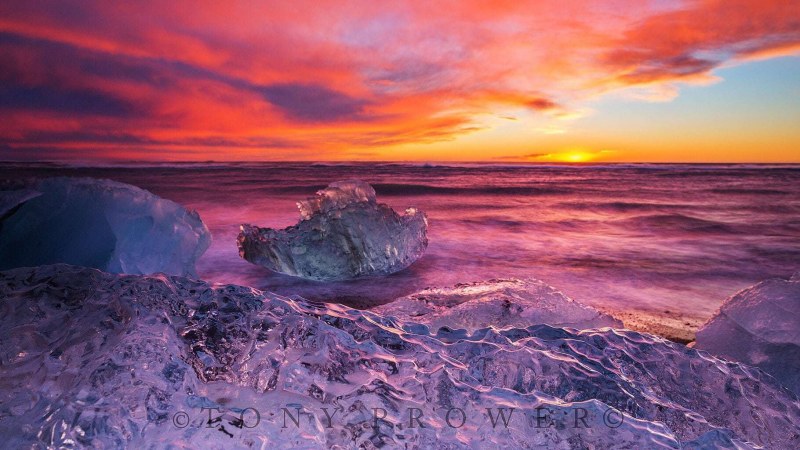
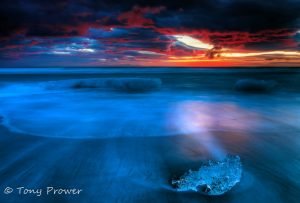
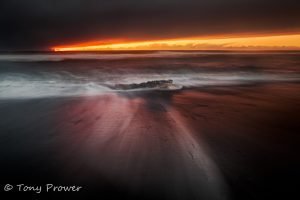
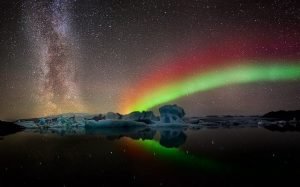
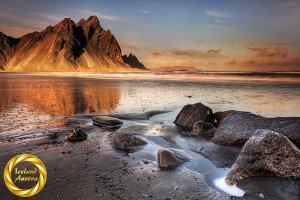
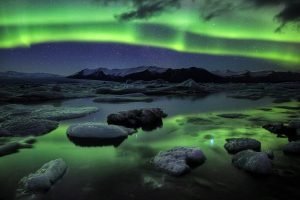
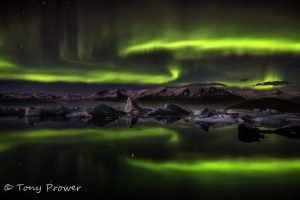
Winter Sunrise on a stormy Jökulsarlon lagoon and Ice Beach. The storm was overnight and we caught the tail end of ice. The wind & sand created incredible scalloped textures in the fresh glacier ice. The sand was also mixing with clouds on the horizon giving the event a lot more colour than usual.
Camera settings
- ƒ/6.3
- 24 mm
- 5 seconds
- 200
Mode: AV mode with + 2 stops over (compensation +/-).
Focus: f/14 hyperfocal mark. Focus is heavily weighted to the foreground.
Background
This is early January on 3 day Jökulsarlon tour. We delay slightly at breakfast because there are storm force winds a the lagoon. I am expecting them to drop with the sunrise, but I don’t want to lead the tour into a dangerous sandstorm. As soon as there is a drop on the wind meter readings, we head to the ice beach. It was manageable there with continuing strong winds and the occasional sand-blasting. I cautioned the group to protect their eyes with sunglasses, goggles ect.
Aperture
Because of how close I was to the foreground ice (see “Composition”) f/6.3 was chosen because sharpness is important only in the foreground, the sea and clouds are moving over the 5 second exposure. From memory, my lens was set to f/14 hyperfocal (favouring the foreground – because the details are more important than the sea and clouds in the background).
Composition
For this composition, the concept is to oppose the diagonal in the sky with an opposite, softer diagonal along the edge of the ice. The ripples on the ice blend beautifully with the textures on the sea. The challenge is getting my camera into the right position to ensure good proportions of sea, ice & sky.
My tripod was set up with only 2 legs extended and the 3 rd folded flat so the tripod is leaning on the ice. The glacier ice chunk became my 3rd tripod leg.
Focal length
Because of the rich colours in the sky, and the ability to get as close to the ice as you like, I strongly recommend a wide-angle.
Magic Cloth
Long exposure = 5 seconds.
Because of the foreground ice’s refraction and reflection, this is not a massive dynamic range scene. My starting exposure (AV mode) was 2 stops over in the live view. A very simple karate chop (after a second) followed by slowly raising the cloth over the remaining 3 & half seconds. A second on the sky capture all the colour and detail including the sun glow. The shadows had to be brought up a little in LR. The extra exposure time on the foreground was almost perfect and just a small increase in contrast gave me fantastic color saturation and clarity.
Magic cloth
Pick a big cloth like a large sock, or the same size black card. Should be large enough to totally cover the optics. Better to be Dark. A dark colour is best. Use any shaped cloth, as long as you can get a straight edge.
The Magic Cloth Technique:
Camera settings
Begin with a dark filter or low light for a for a slower shutter speed, then over expose the image by 2 – 3 stops. If you are in Shutter or Aperture Priority, you can over expose with the compensation feature.
Shutter speed
There is an advantage to a long Shutter speed. 2-5 seconds requires a fast, but smooth movement to burn the sky within a reflex time. 5-10 seconds allows for a controlled exposure of the foreground.
Magic Cloth Action
I usually lower the cloth very quickly and bring it up carefully. So it’s like a Karate Chop to start and a striptease to finish.
Different Methods
Change the Action to allow a dozen short exposures of the clouds, rather than one initial exposure (30 seconds & over exposures only).
Use your spot meter for the highlights and {multiply that shutter speed by 4|then x 4 to get the total exposure time.
Camera & Lens
Recommended Landscape gear.
If you want to practice Magic Cloth photography, choose a camera that can take a long exposure. Having a live view is helpful. A wide-angle lens that can take circular filters is also helpful if you want to get long exposures during the day.
- Sturdy Tripod – essential for long exposure work. I recommend Really Right Stuff or GITZO
- Dark Cloth or card (larger than the front of lens and with a straight edge). A black mouse mat is ideal!!
- A 6 stop – ND filter – Like this: B+W 77mm 1.8 ND MRC 106M Filter For daytime work.
The ND filter is just to lengthen the exposure. You can get silky waterfalls or nice wave action without having to wait for it to get dark. Like Grads, they come in different strengths. I bought one of these… B+W 77mm 1.8 ND MRC 106M Filter. My advice is to buy a filter for your largest lens and use a Step-Up Ring so you can use the same filter on all your lenses.
Canon EF 24mm f/1.4L II USM
A Good Landscape Lens
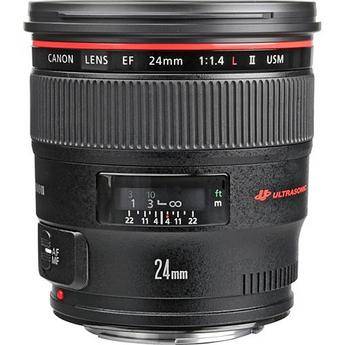
Canon EF 24mm f/1.4L II USM
Focal length – 17mm – 35mm is the best focal range. Using a super wide lens may introduce distortion that makes the straight edge of your cloth bent. I use a lens with a large front element which allows the cloth to move around.
Canon 5D mark IV
perfect for Magic cloth photography!
- Easy features and full manual mode
- Great live view!

