[dropcap style=”font-size: 60px; color: #9b9b9b;”] T [/dropcap]his section discusses a photoshop technique which is similar to Luminosity masking and just adds the extra flavour of various blending modes instead of traditionally adjusting curves. This can be a bit like inventing recipes where some ingredients go beautifully well together and some are disastrous combinations.
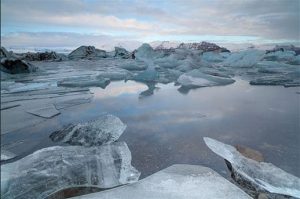
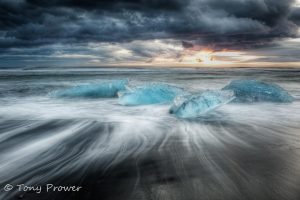
We will start with an image which has some potential for colour and strong lines which can allow us some interesting contrast. In Lightroom I have prepared the image with a fairly low contrast.
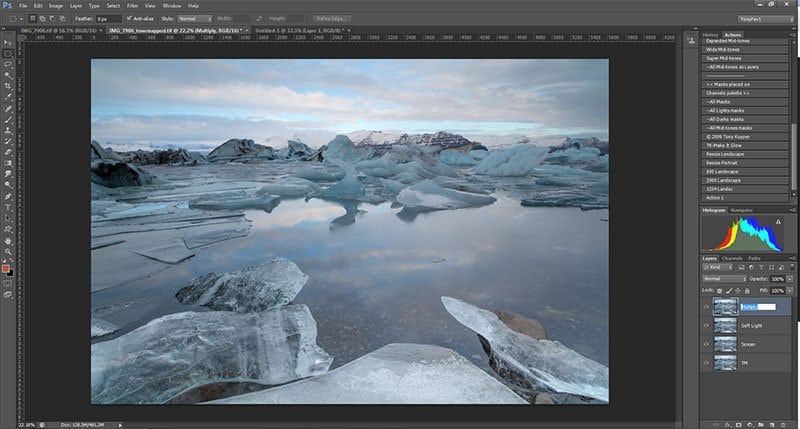
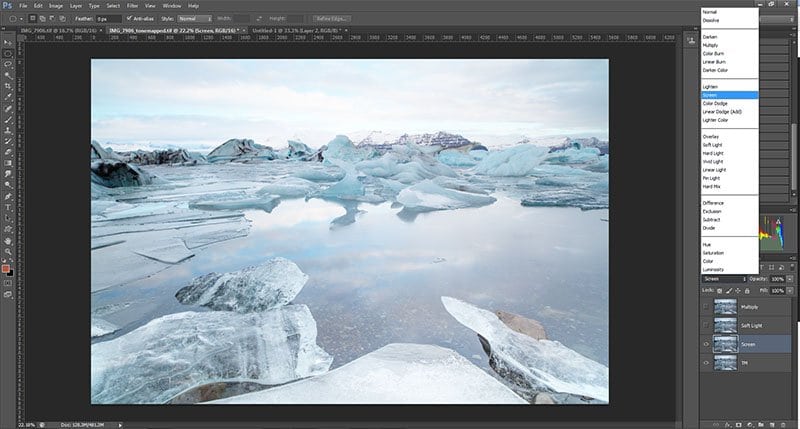
In Photoshop, duplicate the Tonemapped layer twice to create 3 layers. I named the layers; TM (tonemapped), Screen, Soft light, Multiply to correspond with the blending mode I intend to use.
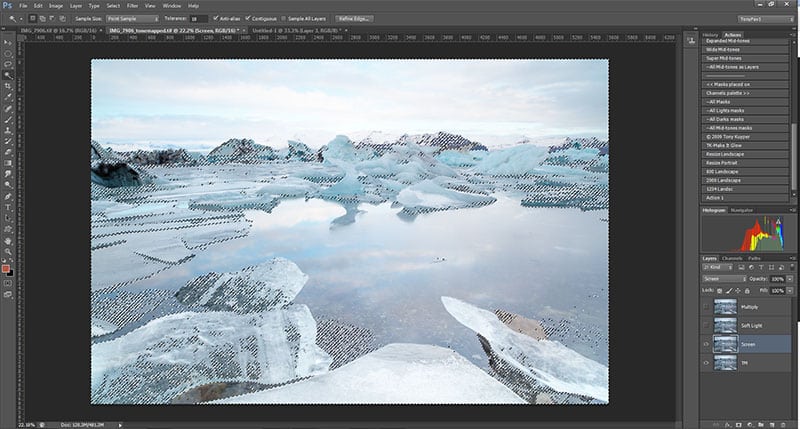
The next step is to make “Soft light” and “multiply” invisible while you make the shadow selection for the screen layer. The Screen mode will increase brightness, but we only want to apply this to the shadows.
PC: Using Ctrl + Alt + 2, I have selected the brighter pixels.
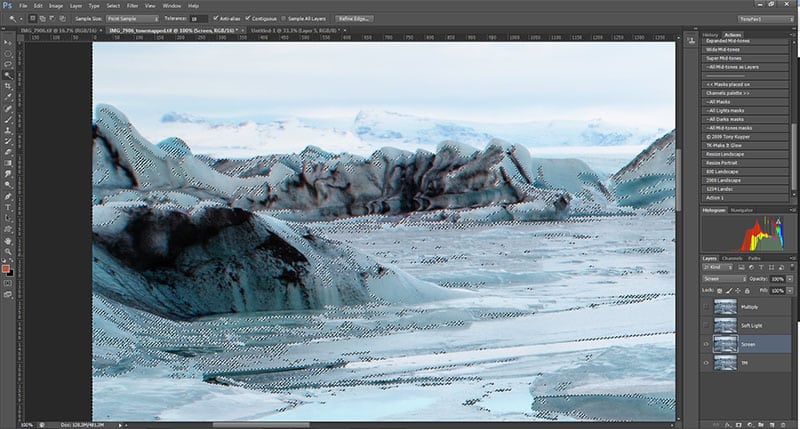
I need to zoom in 100% to a dark area of the image so I can guide the selection.
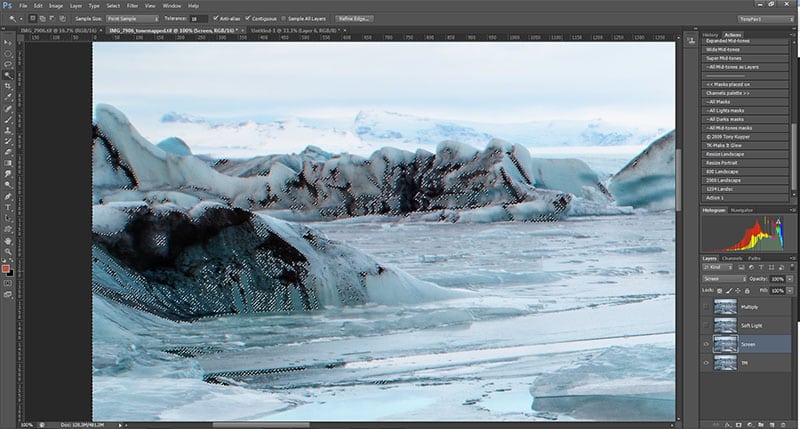
Now I hold down the Shift+Ctrl+Alt+1 to increase the selection. I basically play twister with my fingers to hold down the Shift key and tap the “1” until the selection hugs the shadows (although it is actually hugging the non-shadows.
The next step is to create a mask with this selection by simply clicking the Mask Icon at the bottom of the Layers palette.
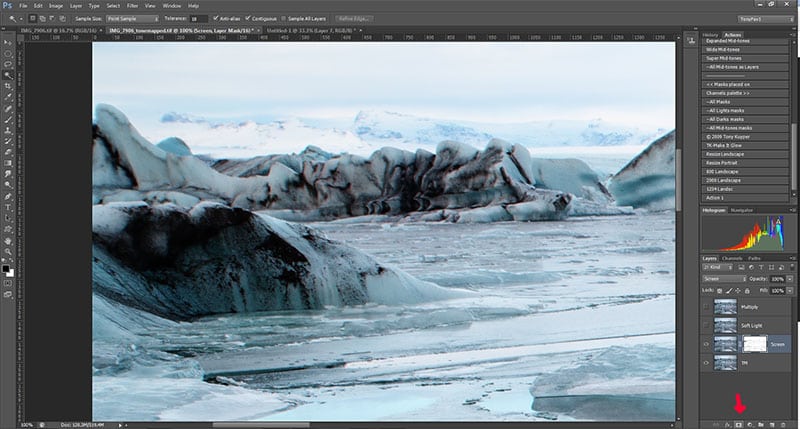
Invert the mask (Ctrl+i). Then “show” the mask by holding Alt and clicking on the mask. The dark areas you see are parts of the image you now have brightness control over.
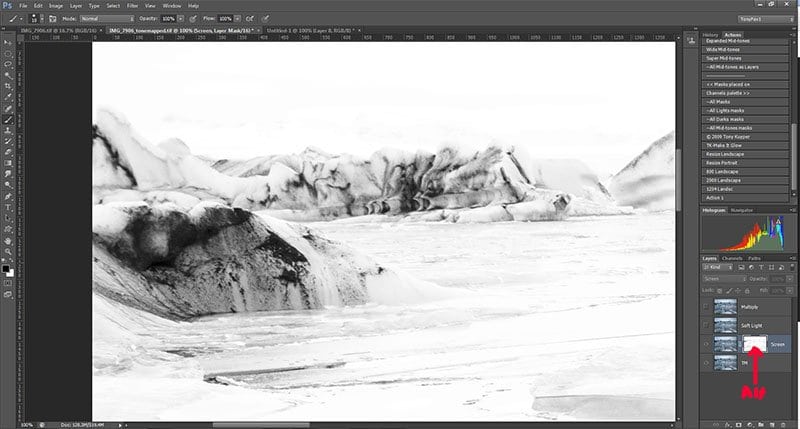
Click the layer thumbnail to see the image.
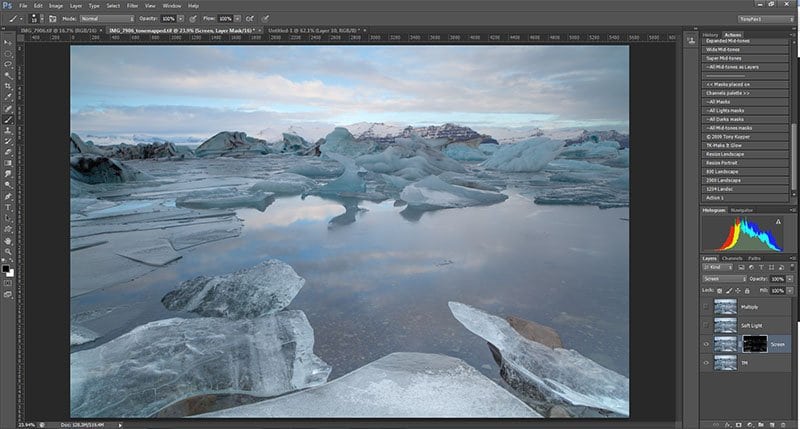
Next make the Soft light and Multiply layers visible and give them their respective blending modes. Using Soft light with increase the contrast. This will give you a lot of control of the shadows at the end of the process.
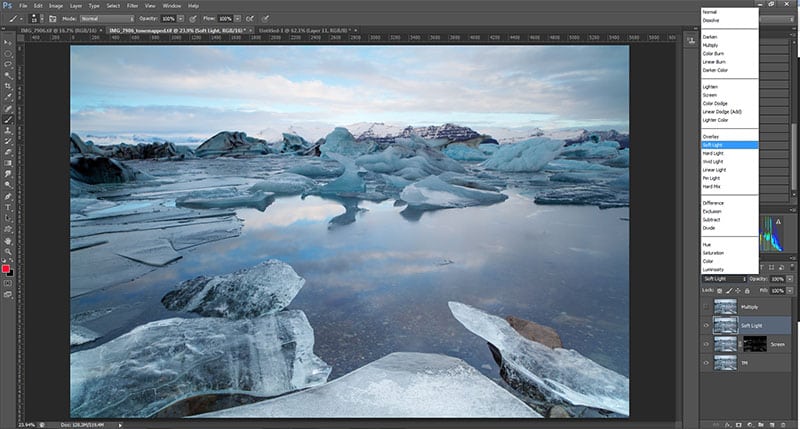
Using the Multiply mode will show you the colour potential, but will also darken the image, so we need to create a mask for the multiply layer.
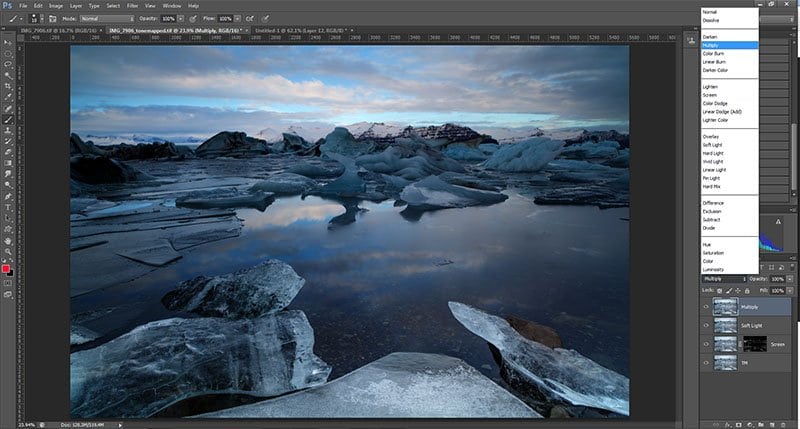
Shift+Ctrl+Alt+2 until most of the sky is selected.
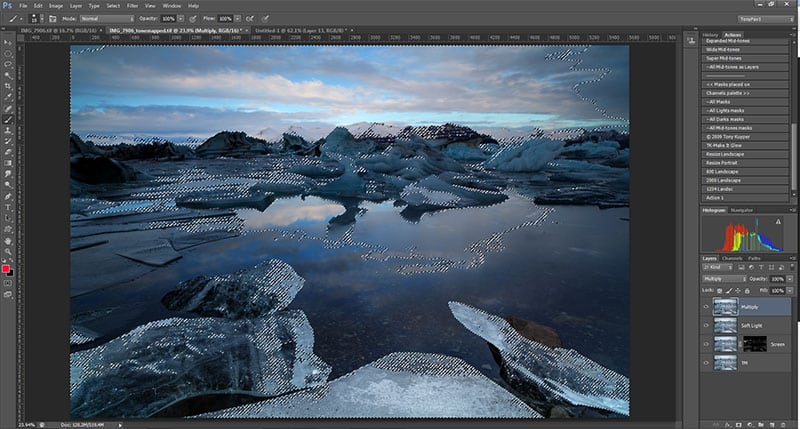
Next create a mask with this selection.
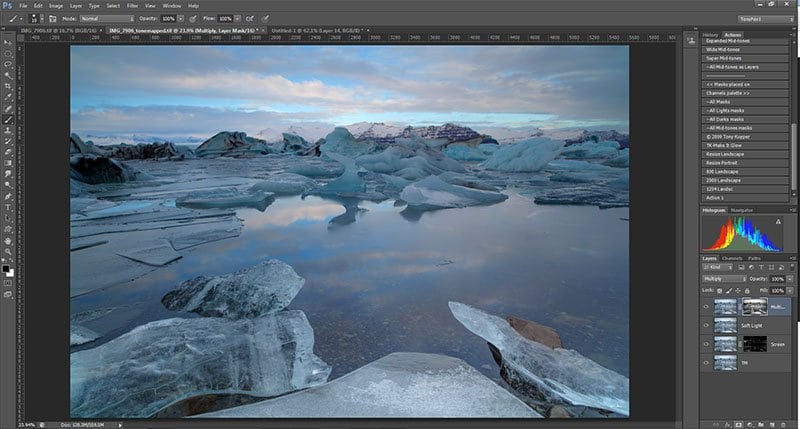
Apply small Gaussian blur to the Mask. I am starting with around 80
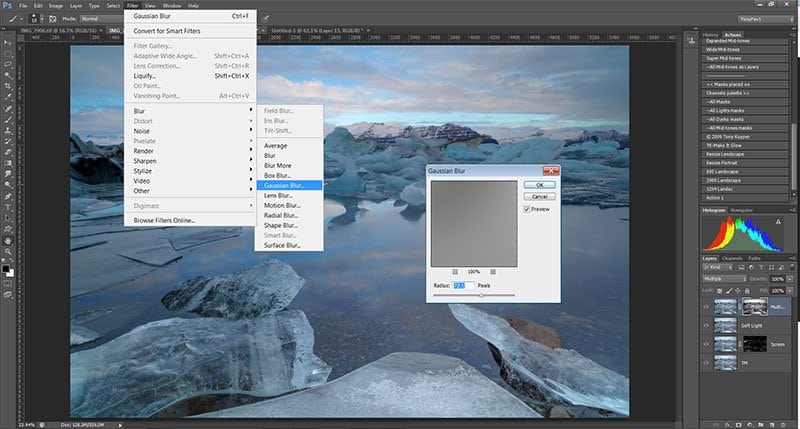
Duplicate the Multiply layer, but remove the mask.
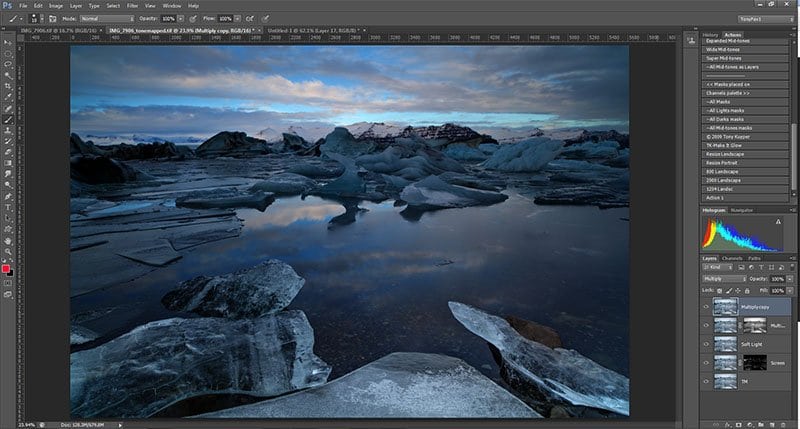
Then re-create the selection with Ctrl+Alt+2 until the brighter parts of the sky are selected and turn the selection into a mask.
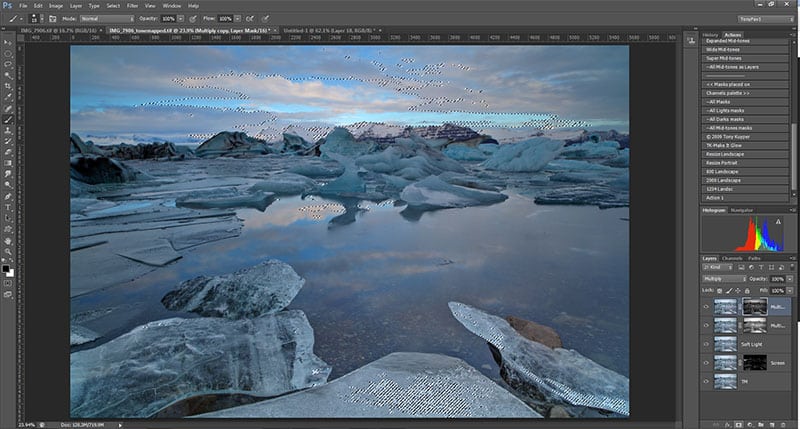
Apply Gaussian blur to the new mask and duplicate the layer a few times to taste, each time you duplicate a Multiply layer with luminosity mask, increase the amount of blur.
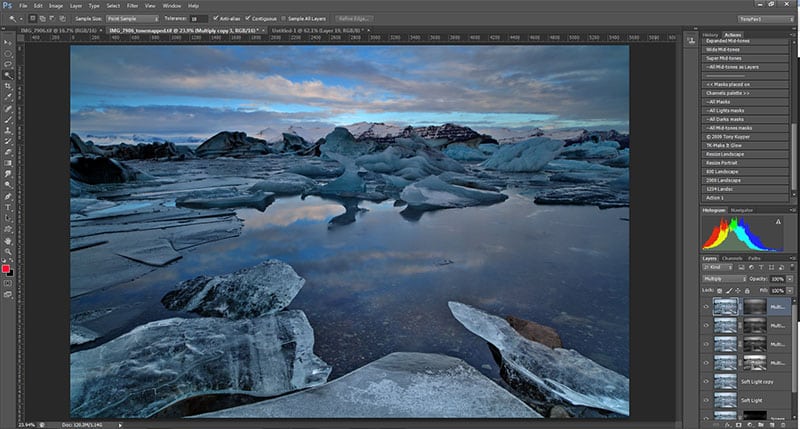
As a finishing touch, just go through each layer and adjust the sliders until you have good contrast and colours. Be sure to do this in a fairly well lit room, so you image doesn’t end up too dark.
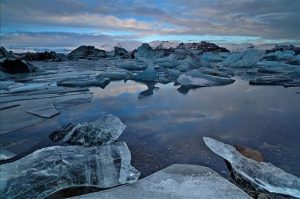
Compare before and after…
