Magic Cloth Technique
Innovative Photography
Part one – dynamic range
The Magic Cloth Technique involves controlling the amount of exposure to different parts of a scene during a slow shutter. The technique involves dodging and burning during a long exposure.
Using a dark cloth (or card), you can reduce the exposure to the sky (or highlights) by covering the front of the lens for part of the exposure time. By using this technique, you can also extend the exposure time to give extra exposure to the foreground. The results are similar to using a graduated neutral density filter, with a bit more flexibility.
Because it requires a long exposure, it is well suited to night photography or coastal landscape photography. Many natural landscapes will benefit from long exposure to soften the clouds and make moving water silky.
The Magic Cloth Technique is an in-camera Dodging and Burning technique. The burning (over-exposure) is achieved with positive exposure compensation. Dodging (under-exposure) is achieved with a cloth or card held over part of the lens during the long exposure.
Video Demo
Using your cloth, give the sky a short exposure, and give your foreground a long exposure.
The following video clip from the Diamond Beach at Jokulsarlon, shows how simple the idea is.
Background
The Magic Cloth Technique was born from the need to get the image right in the camera with a single shot while still increasing the dynamic range of a scene. Before the Magic Cloth, I was using the HDR technique for landscapes. HDR uses a couple of exposures combined to balance the exposure of the sky and the land.
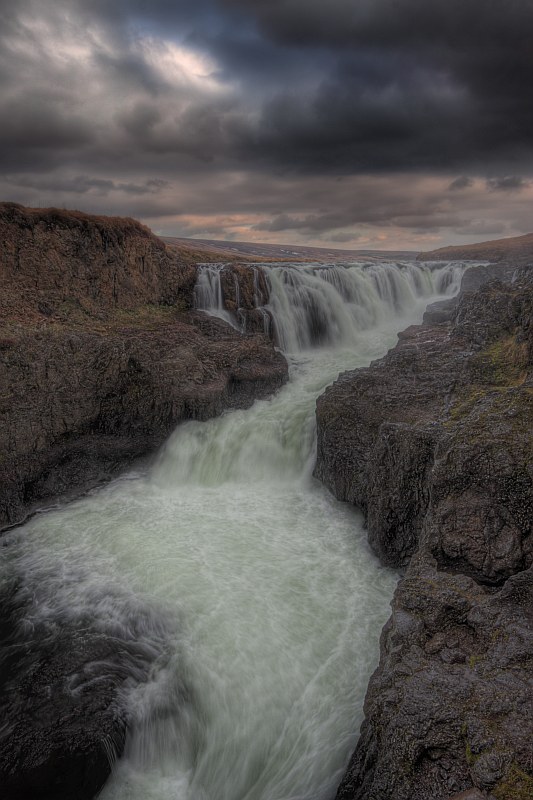
I was excited about HDR because it seemed to have such a lot of control. HDR taught me a lot about photo editing because I used to blend several original layers into my HDR. However, it was a struggle to make an HDR look like a real photo. Also, it taught me nothing about exposure because the technique always includes heavy exposure bracketing. I wanted to learn to expose a landscape scene in a single photo.
Alternative to Graduated Filters
In ordinary landscape photographs, the top part of the scene is brighter than the lower half. Even with a mirror reflection, such as a lake, the difference can be a couple of stops.
In order to get the best exposure to both the land and the sky, photographers have traditionally used filters that are darker at the top and clearer at the bottom. These are called graduated filters (grad), and although they come in different colours, the most popular are Neutral Density (ND-grad). Neutral density adds no colour to the scene.
Aside from different colours, Grad filters come in different strengths, measured in stops. They also come in soft or hard grads. So if you wanted to have graduated filters to cover every eventuality, you would have a set of around six filters plus a holder and adaptor. Then there are reverse grads to consider: the top half is darker but gets slightly lighter towards the very top.
Neutral Density Filter
If you want a set of quality Grad filters, you are paying about the same price as a used car. I couldn’t afford them! But while I was looking, I decided to buy a decent Neutral Density or ND filter. This allows me to get a long exposure in daylight, but without any graduation. The ND filter darkens the whole scene and is much cheaper than a set of graduated filters.
Long exposure
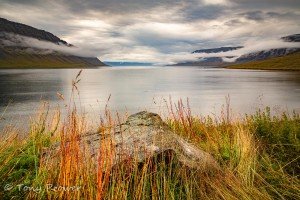
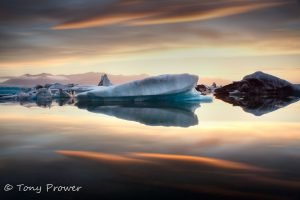
This is where the idea was born (at least for me), because during a 30 second long exposure, I wondered what would happen if I covered the sky half way through the exposure. I used my lens cloth (Hence “Magic Cloth”) This image can be seen below. The Magic Cloth technique has a similar effect to a soft grad filter and can also act as a reverse grad.
Special Applications
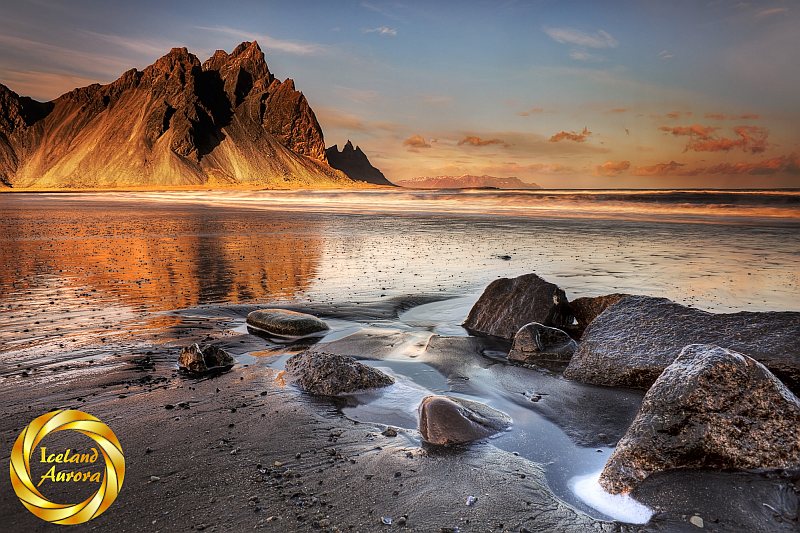
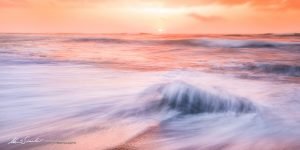
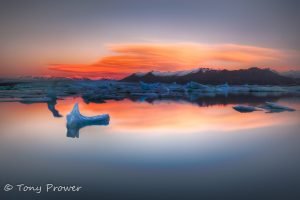
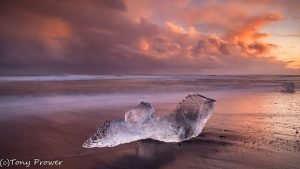
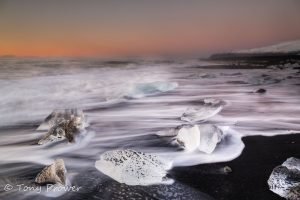
Below: This photograph uses a special application of the Magic Cloth. The exposure time was 3 minutes, but the sky was only exposed for 6 seconds, and the sand was only exposed when it was wet from the waves. In other words, for most of the 3 minutes, there was no exposure going on. None of the white surf appears in this scene, and I was incredibly lucky that a big wave didn’t disturb that little ice pop.
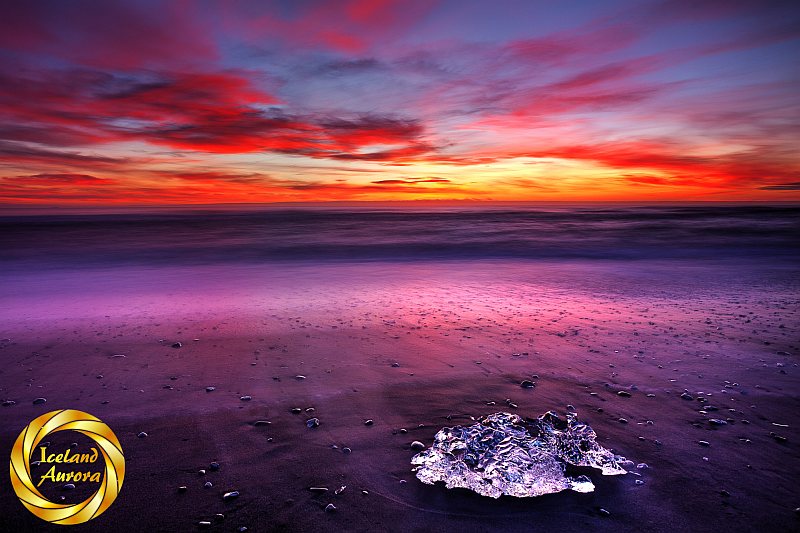
Read more about this image here.
Basic Procedure
Find a scene with an interesting sky. The interest could be in the textures or colours of the clouds. Include some foreground with interesting textures.
Long Exposure
Mount your camera on a good tripod and set a long exposure. My recommendations are around 10 seconds for regular use, no less than 2 sec. (to achieve this, you have to shoot when it gets dark or use a dark filter.) A longer exposure gives you more control and fewer cloth artefacts.
Camera Settings
AV (aperture) mode. 2 stops over compensation (live view) or 3 stops over (without live view), 2 second delay. For metering, I used the centre-weighted average most of the time. If it is getting dark or you are using a heavy filter, then you will have issues with Auto-Focus. Switch your lens to manual focus and use a manual focus technique.
Self-timer
Using a self-timer is recommended. Two seconds is enough time to prepare your Magic Cloth. The automation frees both your hands.
Cloth or Card
You can use a cloth or card for this technique. I recommend a dark colour like ‘Black’; just avoid any bright colours. A straight edge is important, so if you are using cloth, you need two hands to pull it tight.
I ended up using the sleeve of my fleece most of the time. It was always there, and it had a straight edge if I pulled it tight.
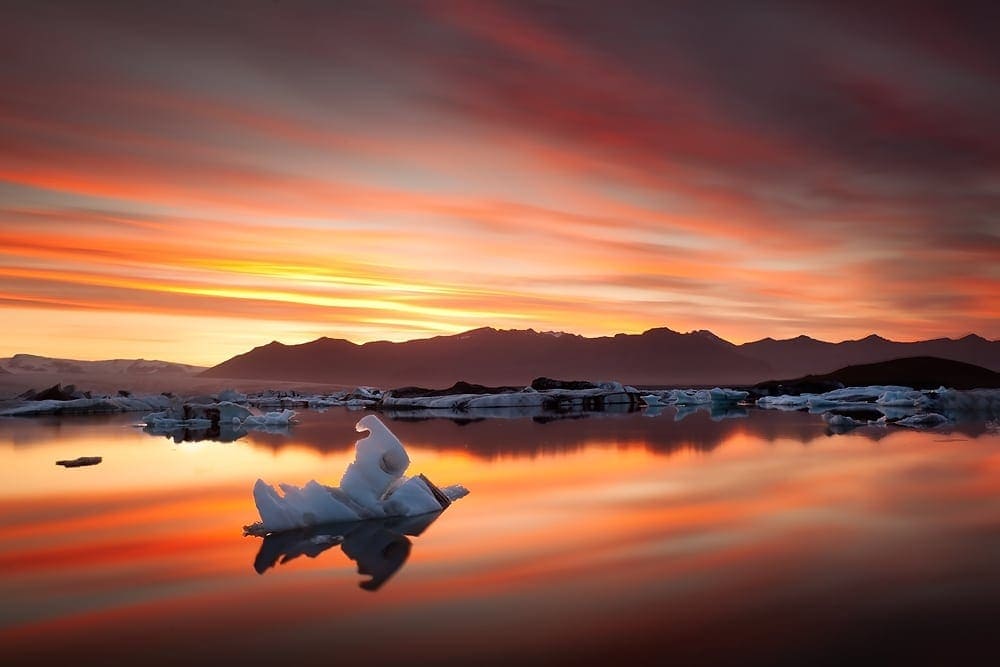
My first attempt The image above was taken just after the idea came to me on a Jokulsarlon Glacier lagoon tour. I was shooting a 30-second exposure (with a 6-stop filter) and dodged the sky after 15 seconds with my lens cloth. The result was good, so I have spent the last several years perfecting the technique.
Action
Keep in mind the total exposure time. Divide the total exposure by 10 for the sky exposure. For example, a 10-second overall exposure would be a 1-second sky exposure.
Press the shutter to activate the 2-second timer; during this time, get your cloth ready.
When the shutter is open, allow 1 second for the sky exposure.
Karate chop the cloth to cover the whole lens. This first movement needs to be fast. Then carefully lift the cloth to the level of the horizon (x 2; keep it moving; keep the cloth level). The more slowly you raise the cloth, the higher the strength of the grad. For example, if you expose the foreground for 30 seconds and raise the cloth very slowly to allow only 3 seconds on the sky, you will have a 10:1 ratio, which is just over 3 stops.
If you have extra time, move the cloth around the bottom of the lens until the end of the exposure (now you can put some angles in to burn the bottom corners). The more you move the cloth, the softer the grad. Do not allow the cloth to become still during the exposure.
For shorter exposures (5 sec), I tended to do the karate chop followed by a slow, single raise. For longer exposures, I would use a karate chop followed by several raises, just to keep the cloth moving.
Camera Equipment
Recommended camera gear.
Canon 5D mark IV
perfect for Magic cloth photography!
- Simple features
- Great live view
Canon EF 24mm f/1.4L II USM
Landscape Lens
Focal length: 17mm–35mm is the best focal length; super wide has a distortion that makes the straight edge of your cloth wonky. Choose a lens with a large front element with room to move the cloth around.
Choose the right equipment for Magic Cloth photography. Your camera must be able to take a long exposure, and a live view is a bonus. A lens that can take filters is also important if you want to take Magic Cloth photos in the daylight hours.
- Sturdy tripods – essential for long-exposure work. I recommend Really Right Stuff or GITZO
- Dark cloth or card (larger than the front of lens and with a straight edge). A black mouse mat is ideal!!
- A 6-stop ND filter for daytime long-exposures.
ND Filters
B&W 6-stop Neutral Density (ND) filter[/caption]The ND filter is just to lengthen the exposure. You can get silky waterfalls or nice wave action without having to wait for it to get dark. Like Grads, they come in different strengths. I bought one of these… B+W 77mm 1.8 ND MRC 106M Filter. My advice is to buy a filter for your largest lens and use a Step-Up Ring so you can use the same filter on all your lenses.
My Camera Gear
Available on BHPhotoVideo.
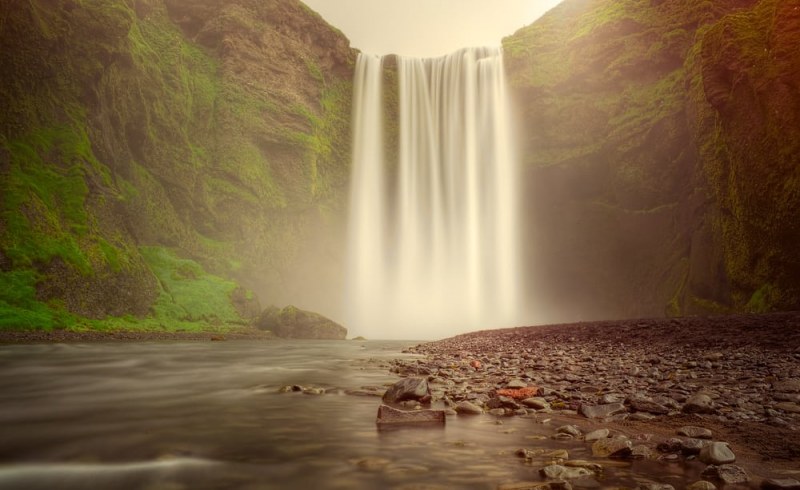
Other advantages
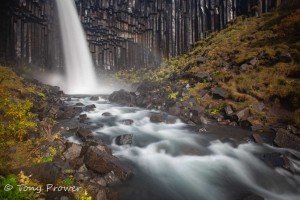
On a longer exposure, it is possible to clean your lens half way through an exposure, so it is very useful for waterfall shots.
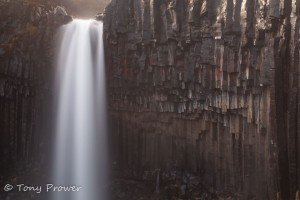
The above photo of Skógafoss Waterfall would have been very difficult because the spray was constantly soaking the lens. I was able to use the cloth to keep it dry during the exposure.
The technique is to double the exposure time so you can spend half the exposure cleaning the lens. This only works while your cloth is clean and dry.
Northern Lights
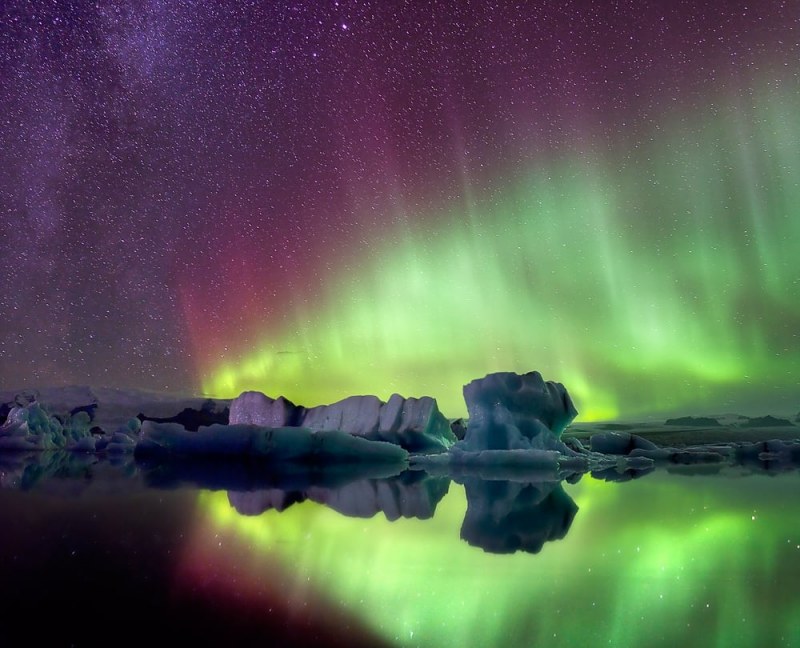
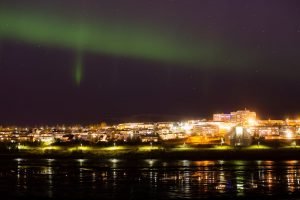
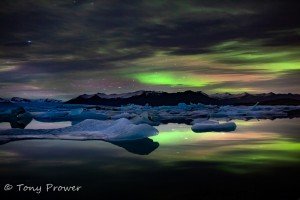
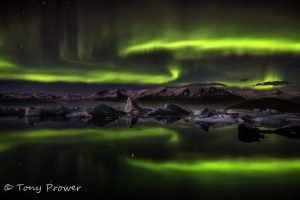
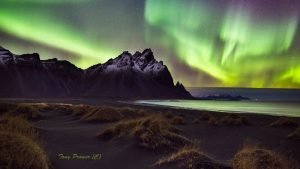
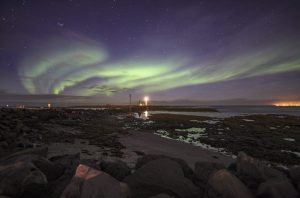
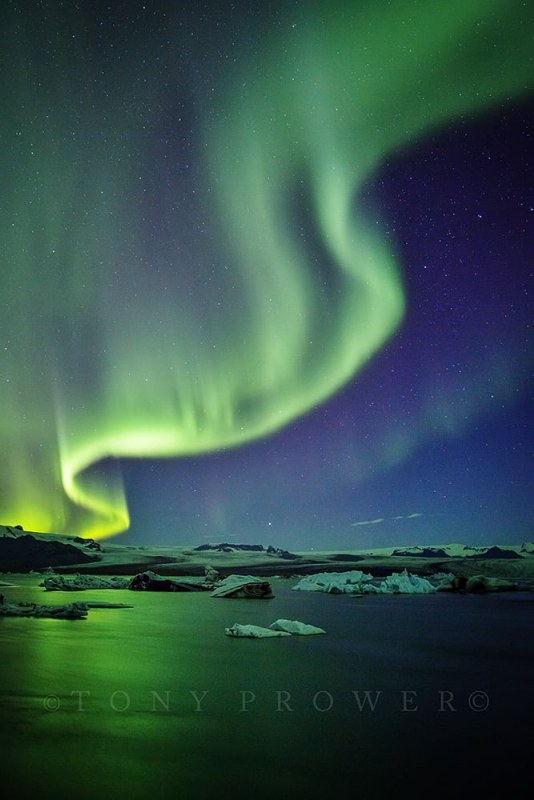
The Magic Cloth Technique works beautifully for capturing the foreground or reflections in a night scene. Night photography can sometimes demand short star exposures, but with details in the landscape. If star trails are undesirable, using a Neutral Density filter would be a bad way of balancing the Heavens and the Earth. The Magic Cloth is a much better choice.
Magic Cloth Group on Flickr
I no longer belong to Flickr, but the group is still going.

Very long exposures
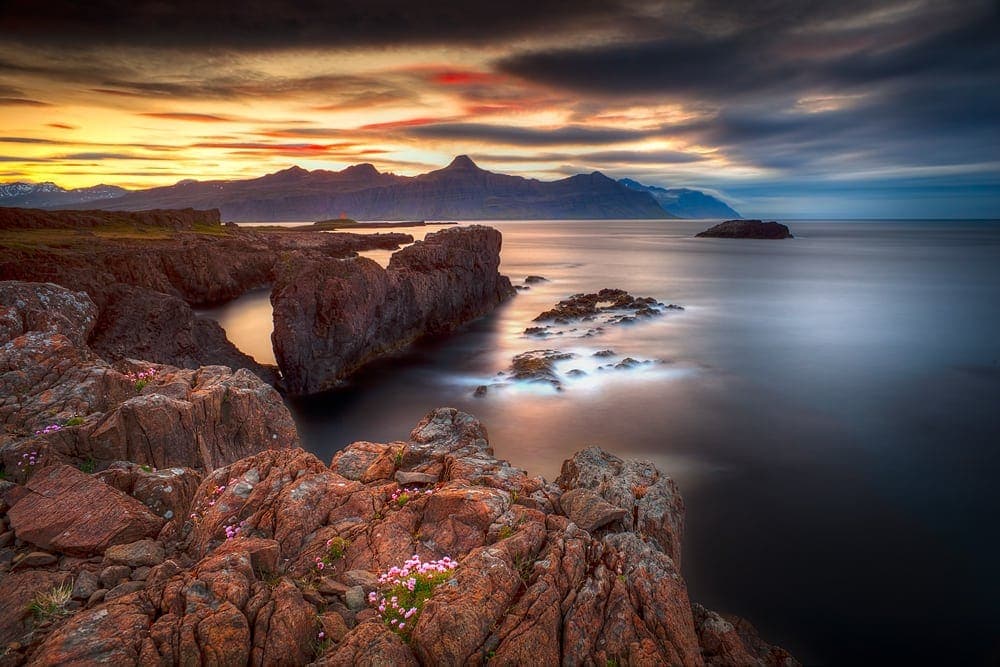
Cloud movement and extreme colours are the result of special long exposure work.
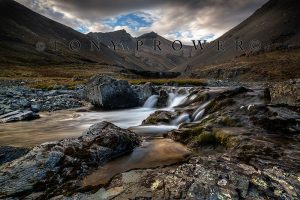
This was an extreme condition as the sky was a lot brighter than the cliffs. I gave the foreground around 5 minutes and the sky around 10 seconds in total. I exposed the sky for about 1 second every minute to give the clouds a sense of movement.
YouTube
Most students of the Magic Cloth Technique found the concept easier to understand after watching these videos:
Conclusions
The magic cloth technique isn’t for everyone or for every scene, but it is certainly cheaper than carrying around a set of expensive glass filters. It is probably best thought of as being a night photography technique, which I have adapted for day photography with the use of a strong ND filter.
The Cons
The downside is that you need a long exposure for this to work. The longer the exposure, the more control you will have. For day-time shots, you will need a way of slowing your exposure use a combination of ND filter, small aperture f/16 – f/22, and slow iso 50-100. I have had acceptable results with 2 second exposures. The other downside is that is can involve a lot of trial and error, this can be frustrating if you are taking a very long exposure. It is not really suitable for extremely long exposures as your arms and shoulders will ache.
The Pros
The upside is that is is a very cheap method and can give excellent results. Also the technique is dynamic. You can expose all the sky in one go to give detail to the clouds, or you can use short bursts to give the clouds extra movement. It is possible to change the exposure if the sky suddenly changes. It is possible to use a mixture of angles if one side of a scene is too bright.
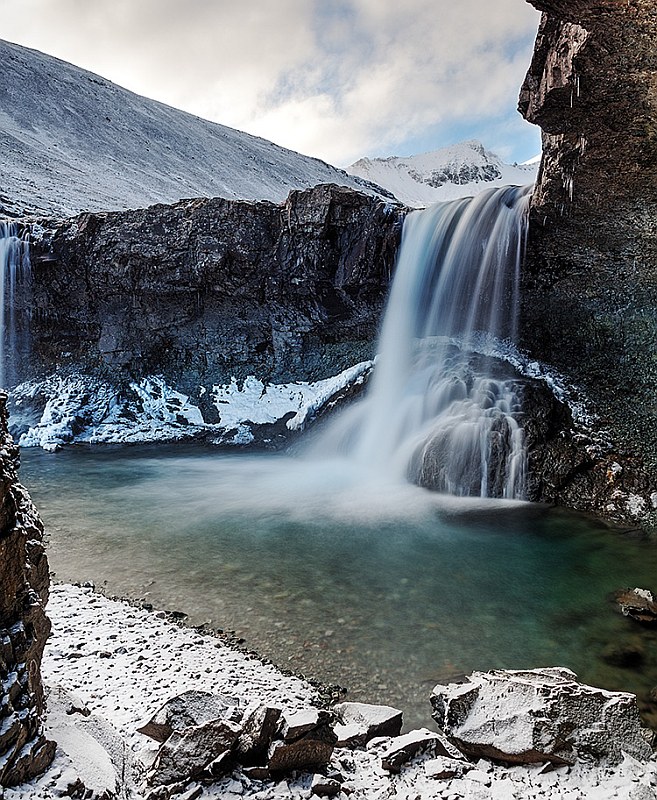
The following photo was taken at Skutafoss Waterfall in East Iceland. I was able to burn the underside of the cave on the right hand side with a sideways magic cloth action.
