
In 2004, I touched down at the Iceland International Airport for the first time. I ended up staying in Iceland for 14 years. These posts document my Nature Photography Adventure around Iceland & some of the things I learnt.

LATEST POSTS
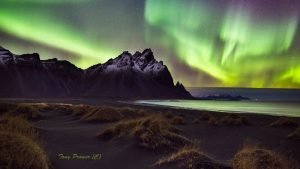
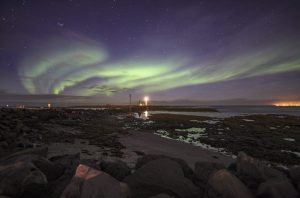
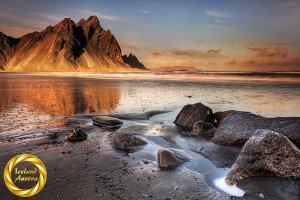
Vestrahorn Aurora – Northern Lights at Vestrahorn Mountain
We found ourselves in East Iceland looking at a northern Lights forecast. Not to be defeated, we decided to head back…
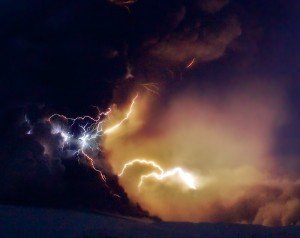
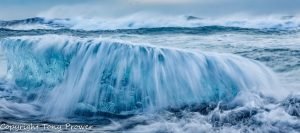
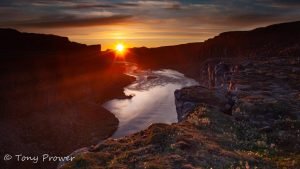
Long Exposure Eruptions – Icelandic Volcano Photography
When your local volcano erupts, grab your camera and tripod and head out for a Long Exposure adventure. There is nothing like…
LANDSCAPE PHOTOGRAPHY
These articles include my approach to Landscape Photography. I discuss landscape photography topics such as composition, exposure and sharpness as well as recommended camera gear.
Blue skies arrrgghh!
Blue skies are my favourite for sunbathing, but not for landscape photography. An opinionated article about clouds and depth.
Focusing Landscapes – Hyperfocal Distance
Hyperfocal distance involves careful focusing adjustments to ensure that objects close to the camera and objects in the distance all have the…
LONG EXPOSURE TECHNIQUES
Long exposure photographs communicate movement by making the most of motion blur. A Slow Shutter speed opens the door of creativity. These posts discuss using long exposure in creative landscape photography.
Long Exposure Photography Techniques – Silky Water
Love them or your hate them, long exposure photos are a good way to understand shutter speed. this article looks at ways…
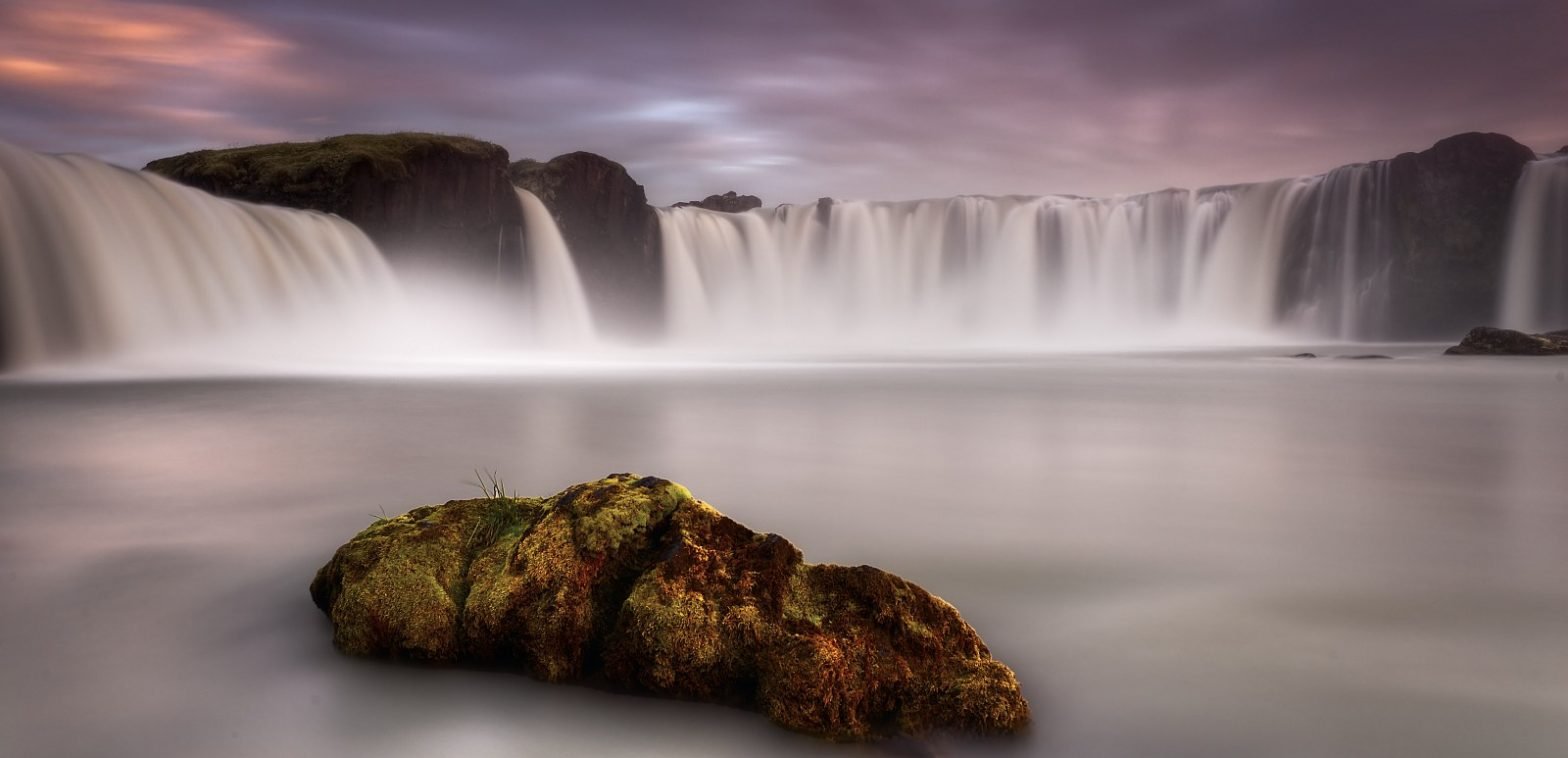
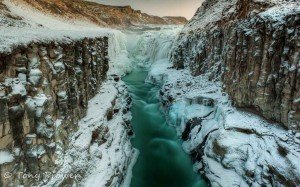
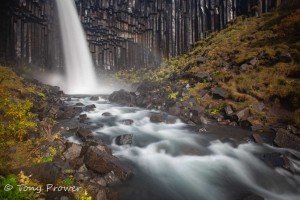
Waterfalls & Slow Shutter Magic
Long Exposure Photography How to get a silky Effect on Waterfalls Icelandic Waterfalls Waterfalls are countless in Iceland. The multi-plateaued volcanic landscape…
NIGHT & NORTHERN LIGHTS
Night photography helps you see more in the dark. It also helps you learn how to use your camera very quickly. Iceland has a lot of NIGHT, but only in the Winter months. These posts talk about capturing night scenes & Northern Lights in the Icelandic Nature.
Northern lights HDR photography
Northern lights are a real treat for the travel photographer, but what’s the point if you can’t see the landscape your are…
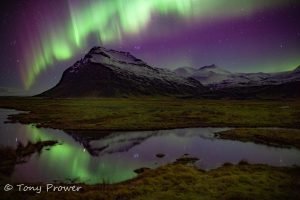
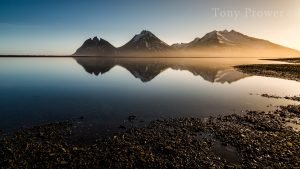
Aurora Mountain – Northern Lights Photo
This South Iceland spot can be very good for Northern lights photography because there is a possibility of capturing a reflection of…
MAGIC CLOTH TECHNIQUE
Magic Cloth Photography is a technique for controlling the amount of exposure to different parts of a landscape photo. During a long exposure, the Magic Cloth will help you dodge and burn an image onto the digital sensor.
Tony’s Magic Cloth Technique – Long Exposure Photography
The Magic Cloth Technique involves controlling the amount of exposure to different parts of a scene during a slow shutter. The technique…
Vestrahorn Aurora – Northern Lights at Vestrahorn Mountain
We found ourselves in East Iceland looking at a northern Lights forecast. Not to be defeated, we decided to head back…
BEGINNER’S GUIDE
These posts attempt to explain Landscape and Nature photography to the beginner.
Photography as Communication
If you have communication in mind when you take the picture, then your photograph will have a communication value. This article discusses…
Beginner’s Guide: – Semi-Automatic vs Manual Mode – Understanding Cameras
I would like to go beyond the automatic mode. Should I shoot only in manual mode though? When should I use the…